How to Change Your DNS Servers on MacOS Ventura
Change Your DNS Servers on Macos Ventura
Note: This tutorial assumes you already have a FastestVPN subscription. If not, head over to their website and grab one before proceeding. Additionally, FastestVPN is only compatible with the MacOS version 10.15 and above. If you’ve got an older version, please click here.
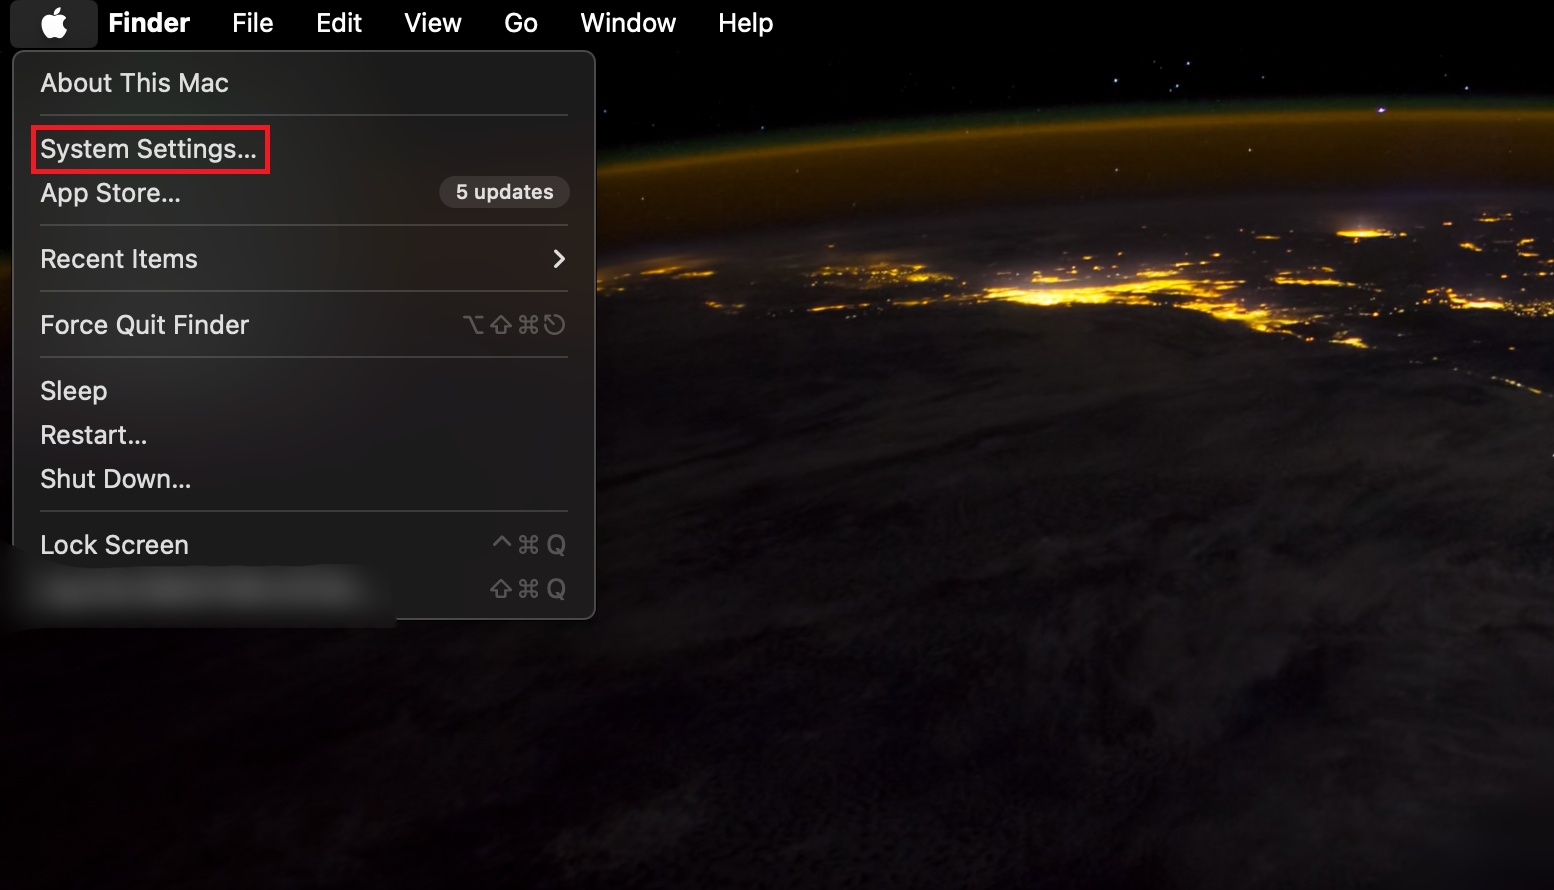
- Click the Apple icon from the menu bar and choose “System Settings.”
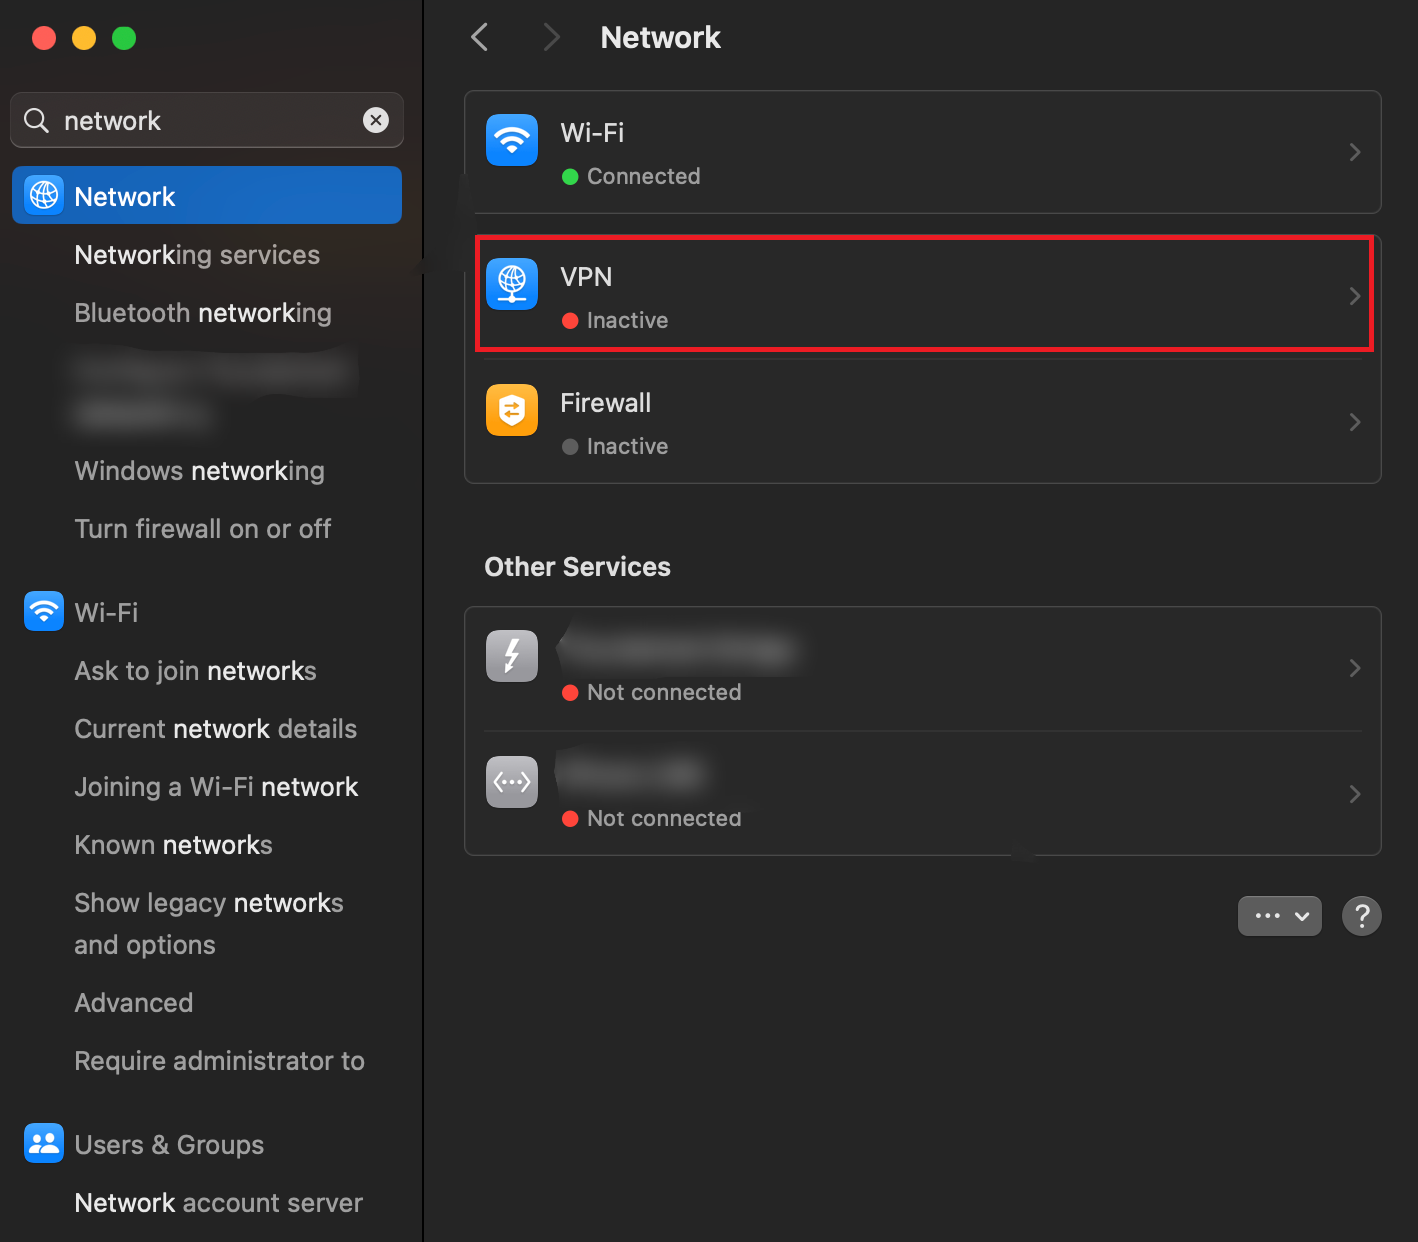
- In the left sidebar, click on “Network.”
- Choose the Wi-Fi or Ethernet connection you’re using.
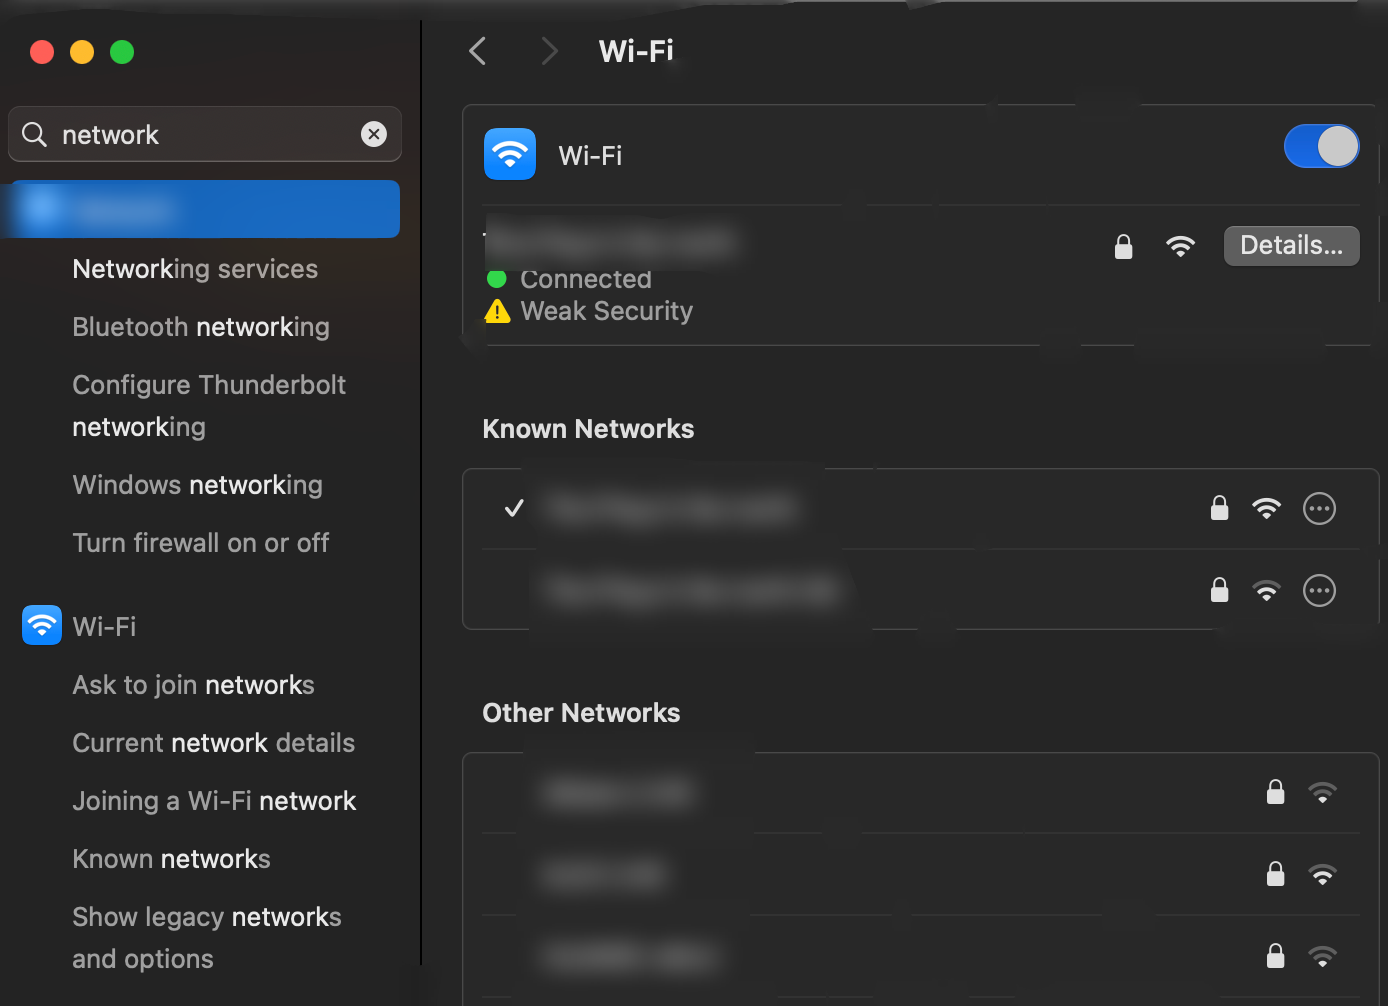
- Click the “Details…” button next to your selected connection.
- Click on the “DNS” tab.
- Click the “+” button at the bottom and enter the FastestVPN DNS server addresses (usually found under Settings >Advanced Settings>DNS servers).
Add the following server addresses:
10.8.8.8
10.9.9.9
- Click “Add” to save them.
