How to set up OpenConnect / SSL Protocol on Windows 7, 8, 10, and 11
This tutorial explains how you can set up FastestVPN with the OpenConnect/ SSL protocol using the OpenConnect GUI (SSL VPN Client) on Windows 7, 8, 10, and 11.
The Windows VPN configured with OpenConnect GUI (SSL VPN Client) masks your internet traffic with port “443“, making it very difficult for any firewall or blocking system to block or detect your VPN connection.
Step #1: Download the OpenConnect GUI Setup file.
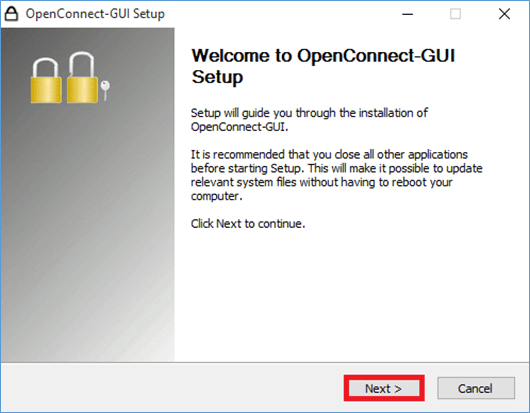
Step #2: Click on the downloaded file to run the setup. Click on Next.
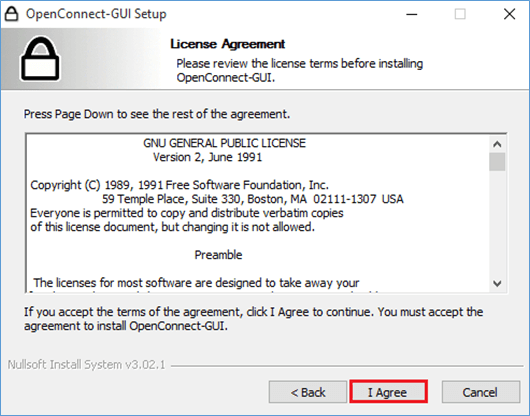
Step #3: Click on “I Agree”.
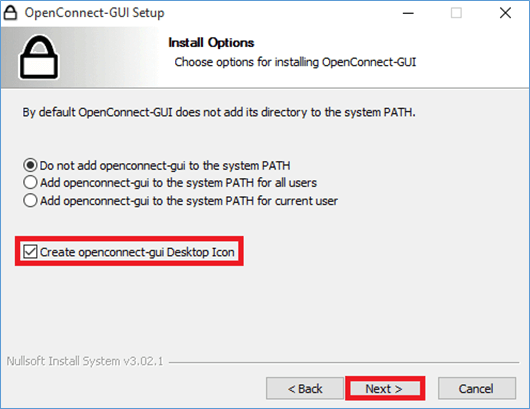
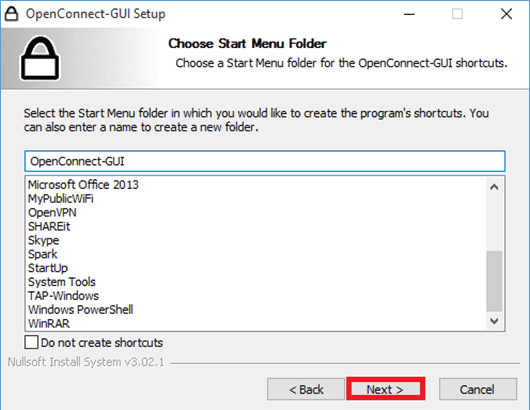
Step #4: Click “Next” on the next three steps.
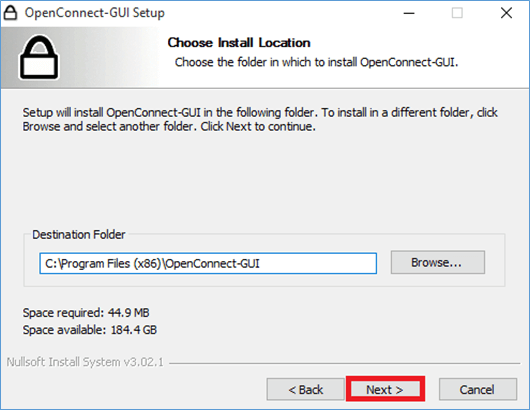
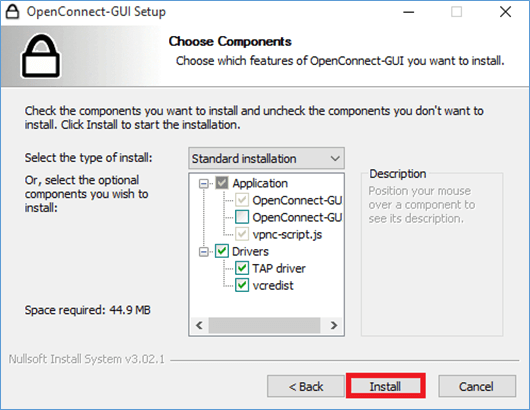
Step #5: Don’t change anything and click on “Install”.
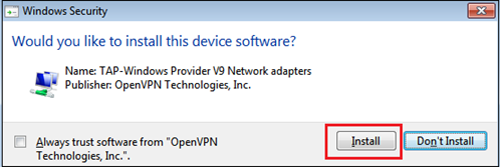
During the installation, if it prompts to download TAP-Windows Provider, then click on “Install”. Otherwise, proceed to the next step.
Step #6: Click “Finish”.
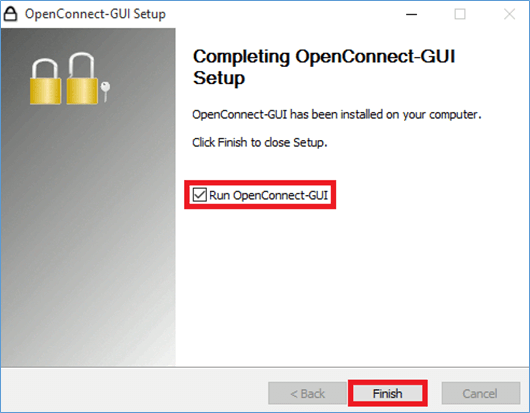
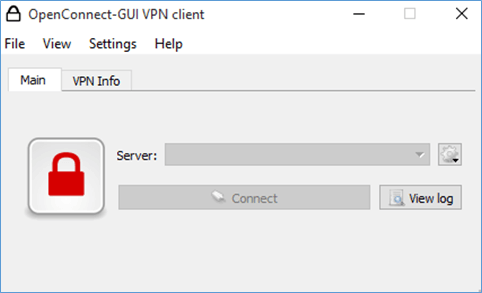
Step #7: OpenConnect GUI VPN client will appear in a few seconds. (If it doesn’t show up, then search “OpenConnect” from Windows search and launch it from there).
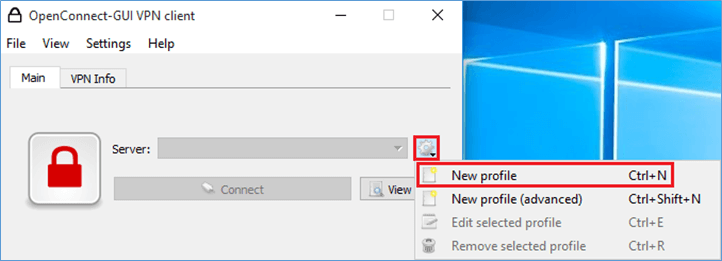
Step #8: Click on the “Settings” icon and select “New profile”.
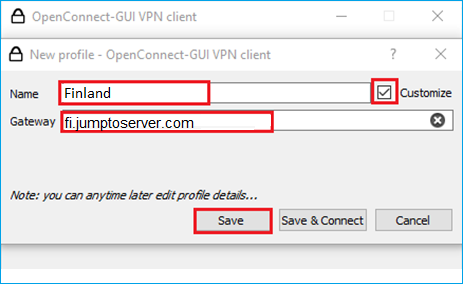
Step #9: Enter the following details:
- Put a checkmark on ‘Customize‘
- Name: VPN Server location name, or whatever you like
- Gateway: Your desired VPN server address. Here you can find the complete list of FastestVPN Server addresses. For example: fi.jumptoserver.com
- Click on “Save“
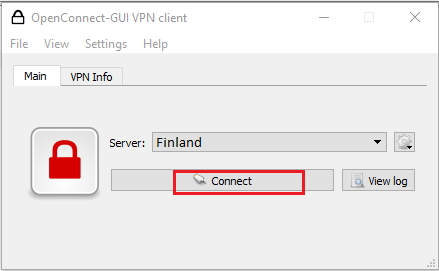
Step #10: Click on “Connect.
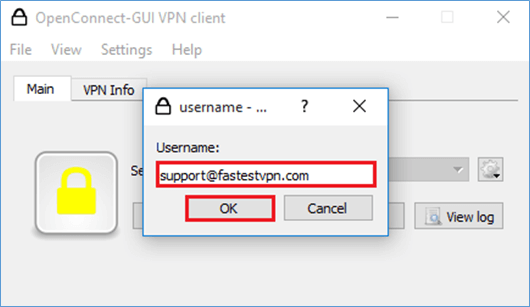
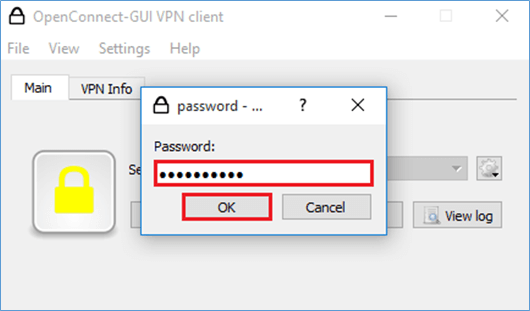
Step #11: Enter your FastestVPN “Username” and click “OK”, then enter your FastestVPN “Password” and click “OK”.
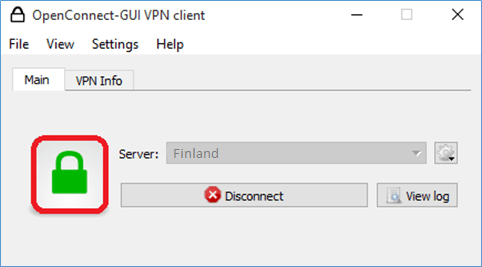
Once the “Lock” turns green that means you are “Connected” to the FastestVPN.
Use the Disconnect button when you need to disconnect from the VPN connection.
Use the OpenConnect GUI icon in the system tray/ taskbar hidden items to connect and disconnect your VPN later.
