Setup and Use the FastestVPN App on Mac OS
How to Install the FastestVPN App on Mac OS
Note: FastestVPN’s User-Friendly and Feature-Rich MacOS X VPN Client Application is compatible with MacOS X 10.15 and later versions.
- Navigate the App Store on your MacBook. Browse the apps or search for it by pressing the Command + Space bar.

- Launch the App Store.

- Search for FastestVPN and Install it.

- Wait for the installation process.
- Once installed, launch the VPN app on your device by clicking Open.
How to Set up FastestVPN on Mac OS
The setup process branches out into 2 sections, i.e., direct VPN setup and manual configuration. In case of setup failure, jumping onto the manual configuration process is recommended.
Direct FastestVPN Setup
Following FastestVPN installation on your Mac device, the setup process awaits. Here’s a brief VPN setup tutorial:
- Launch the FastestVPN app on your device.

- Find the user icon, denoted by a general user, on the top-right of the screen. Click on it.
- Enter your user credentials, i.e., your email address and password.

- Click on Login.
Manual VPN Configuration
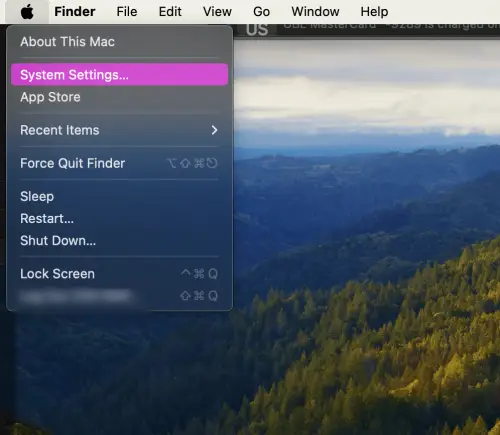
- Go to the Apple Menu.
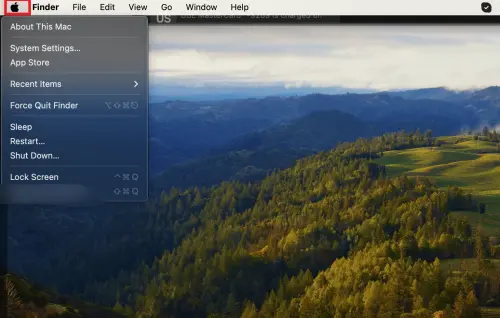
- Find and open System Settings.
- Click on the Network from the Sidebar.
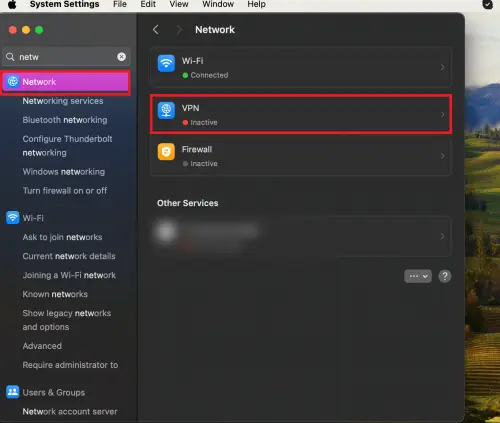
- Open the VPN option.
- Click open Add VPN Configuration.
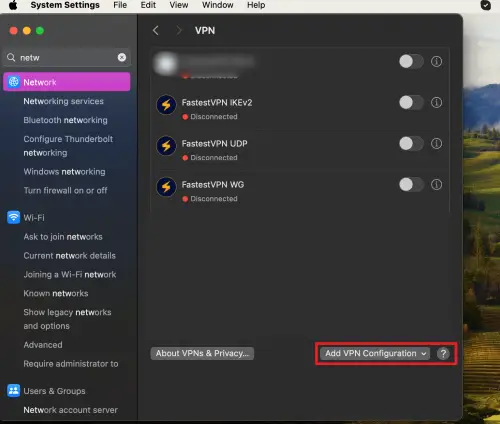
- Choose the type of VPN Connection and enter the Name in the designated field.

- From the protocols section, select the type of protocol.

- Select Create.
Additional VPN Settings
When using FastestVPN, you can access additional settings and change the VPN protocol. Here’s how you can do so:
- Navigate and click on Settings. You can find this through the gear-shaped icon on the top-right of the screen.

- The horizontally-listed protocols are Auto, WireGuard, IKEv2, TCP and UDP.

- Click on the preferred protocol.
- You’ll be asked for user permission. Allow the action by entering your Mac password.

