IPSec VPN Setup for Mac OS
Manual Configuration of IPSec VPN Protocol on MacOS
Note: FastestVPN is compatible with Mac OS version 10.7 and later. And, you need to follow a manual VPN configuration for all versions.
This tutorial is divided into 3 steps for a better VPN protocol setup understanding. Here’s a comprehensive tutorial on how you can set up the IPSec Protocol on your Mac:
Step 1: Create a VPN Connection Profile in the Network Settings
This tutorial is divided into 3 sections to elaborate on the manual configuration process.
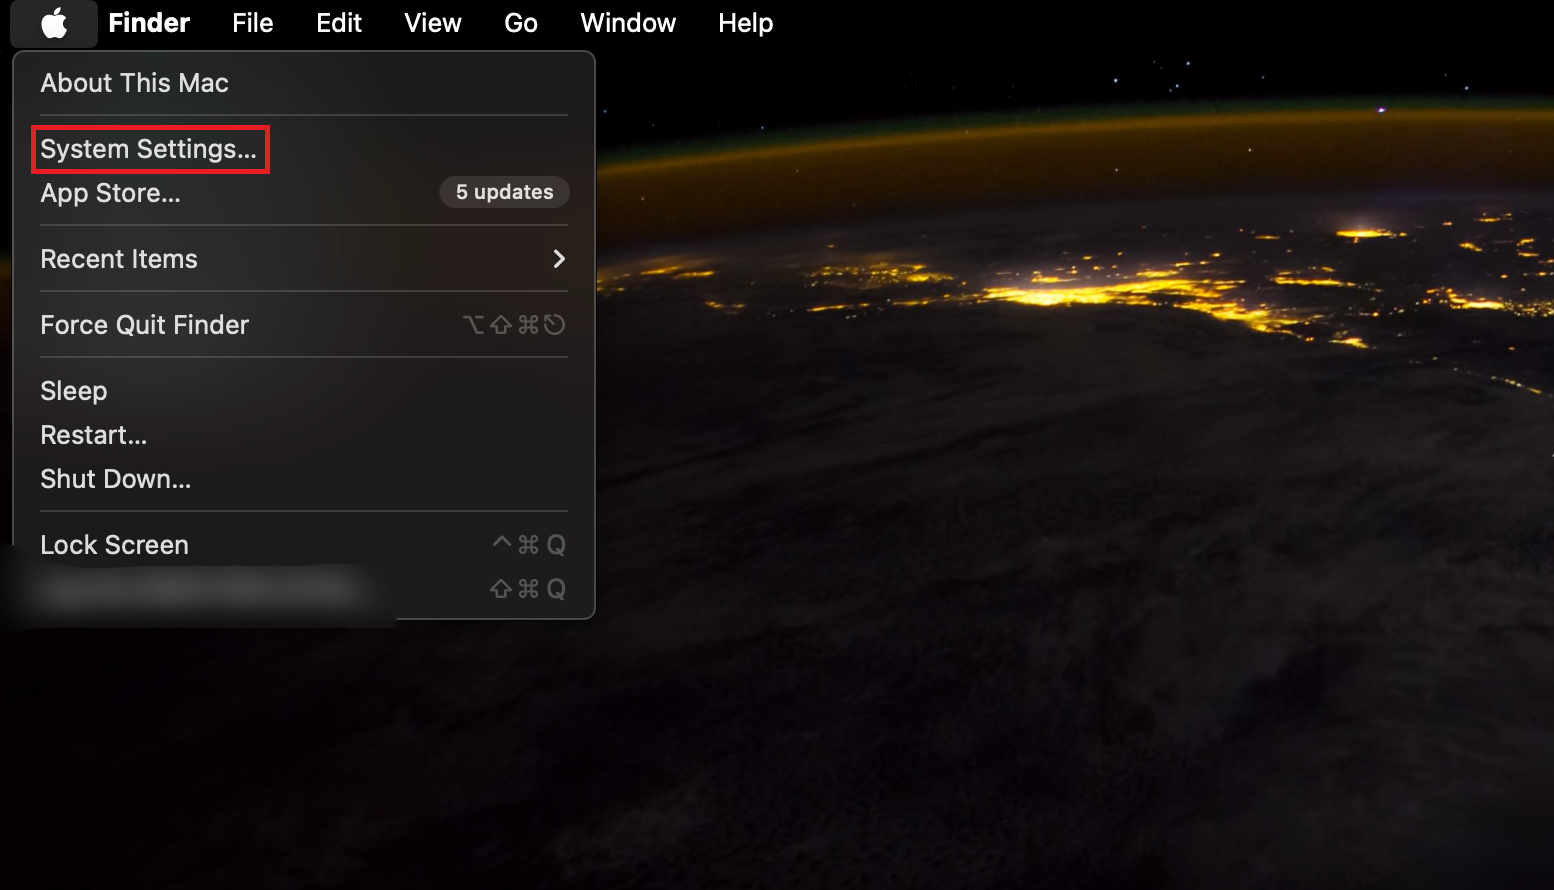
- Find and click on the Apple logo on the top-left corner of the screen.
- Select System Preferences.
- Click on Network.
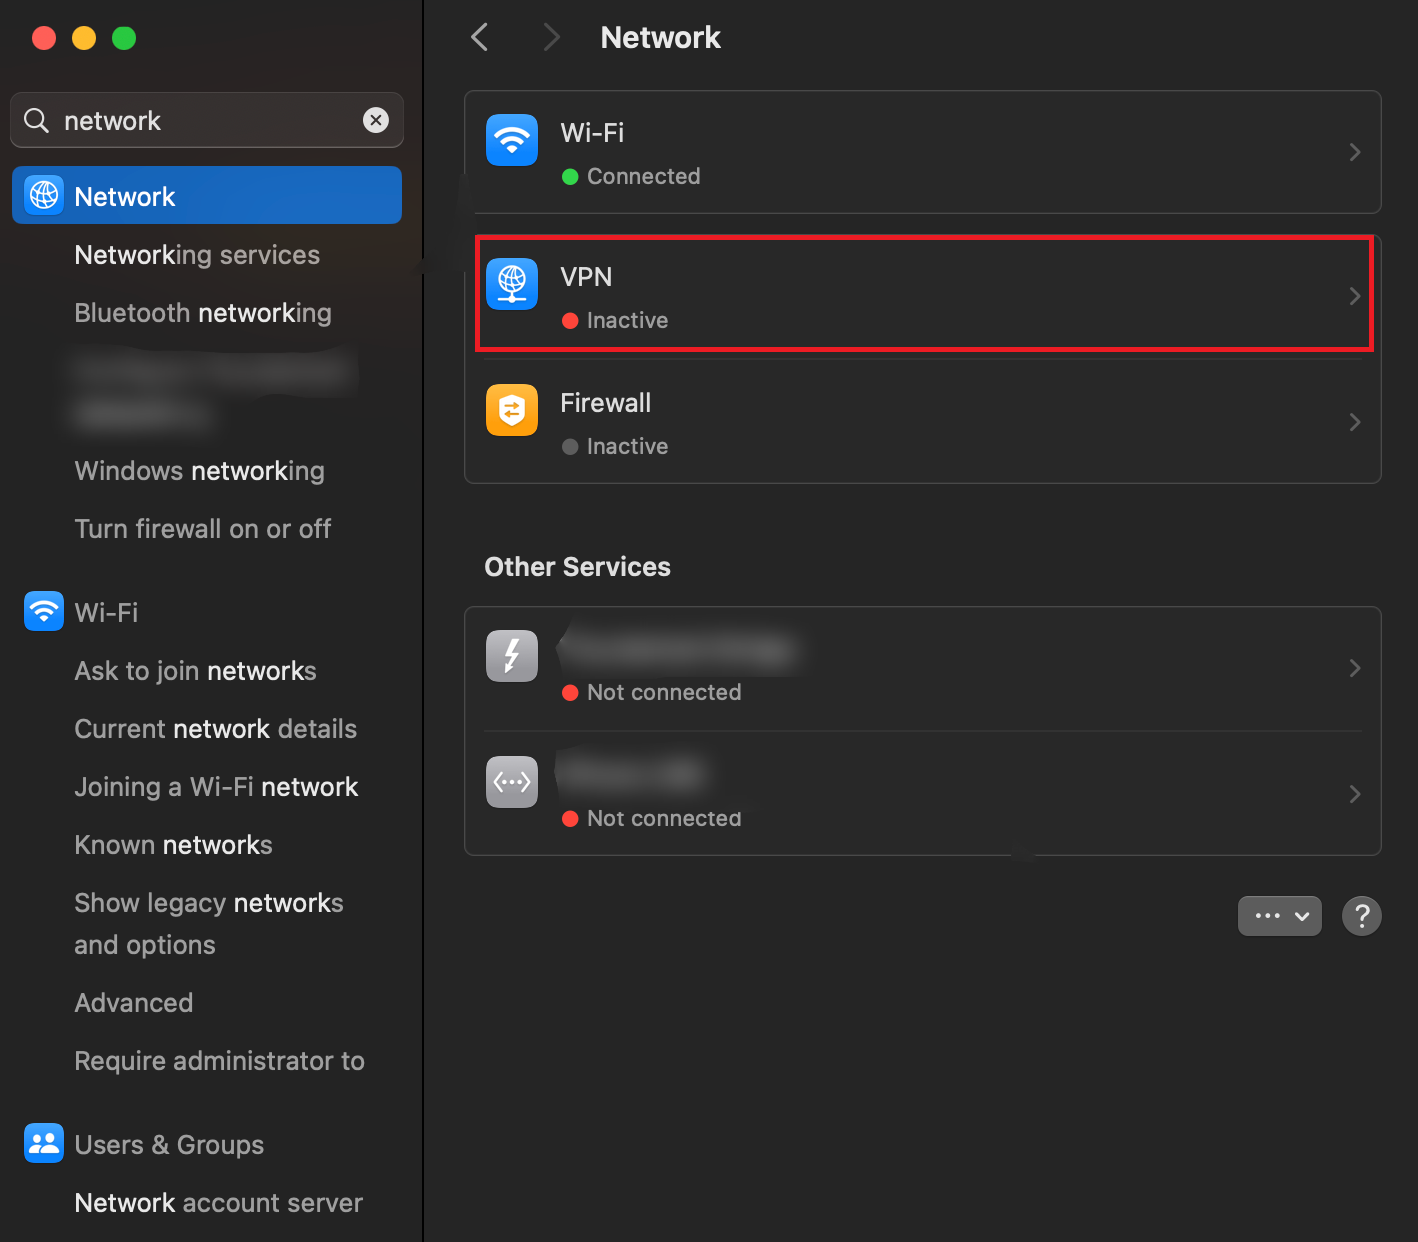
- You’ll see three icons, a +, -, and a gear for Settings. Click on the + sign.
- Enter VPN as the interface name. Add IPSec as the VPN Type. And type FastestVPN_IPSec (or any preferred name) in the Service Name section.
- Click on Create.
Step 2: Add the Further Server Details
Note: Click here to browse the list of server addresses to add your preferred server address. In this tutorial, we’ll use Austria’s server address as an example. However, you can copy and paste your desired address in the section.
- Type at.jumptoserver.com in the server address section.
- Add your FastestVPN user name in the “Account Name.”
- Type your FastestVPN password in the Password section.
- Click on Authentication Settings.
- Click on Shared Secret circle and type psk123.
- Select OK.
- Checkmark the “Show VPN status in menu bar” and click on Apply.
Confirm the protocol connection, along with your IP address, using the status mentioned. If it says “Connected,” you’re now connected to the IPSec Cisco protocol.
