OpenVPN Setup on Windows Using the OpenVPN GUI Application
This tutorial explains how you can manually set up the FastestVPN with OpenVPN protocol and OpenVPN GUI app on Windows 7, 8, 10, and 11.
Step #1: Download FastestVPN OpenVPN (TCP and UDP) config files from here
Step #2: Download the OpenVPN GUI Client from here and double-click on the downloaded file to run the installation.
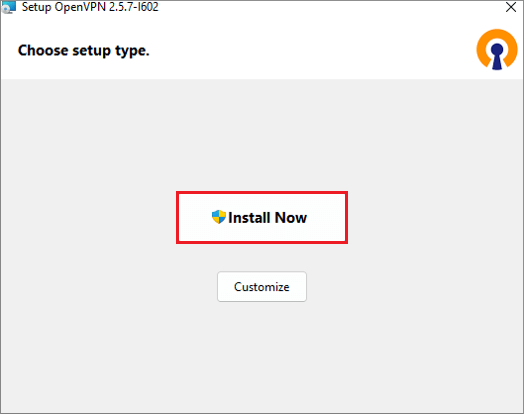
Step #3: Click Install Now.
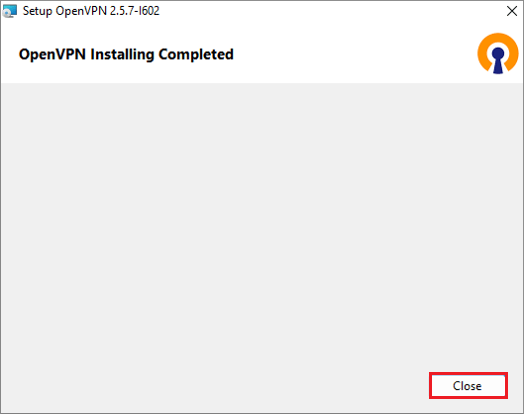
Step #4: Wait for the installation to complete and click Close.
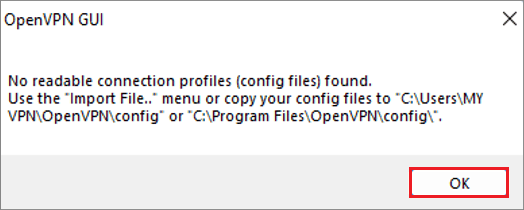
Step #5: Click OK if this message appears.
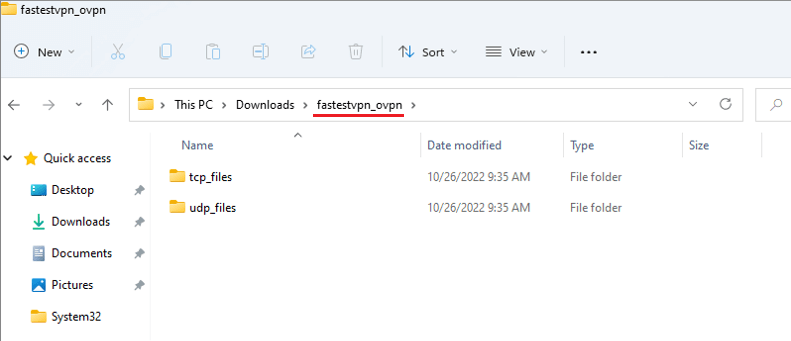
Step #6: Now go to the config files which you’ve already downloaded in Step 1 and unzip those files. You’ll find tcp and udp folders inside.
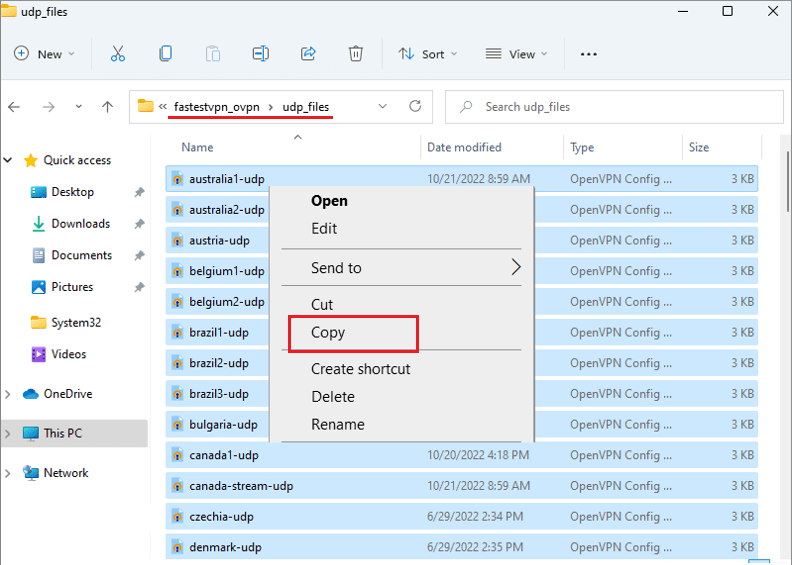
Step #7: Then open any of the folders, udp or tcp, copy the server files inside, and paste them into C > Program Files > OpenVPN > Config folder.

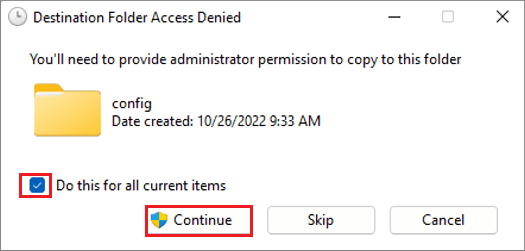
Step #8: When it asks for the administrative permission then checkmark “Do this for all current items” and click Continue.
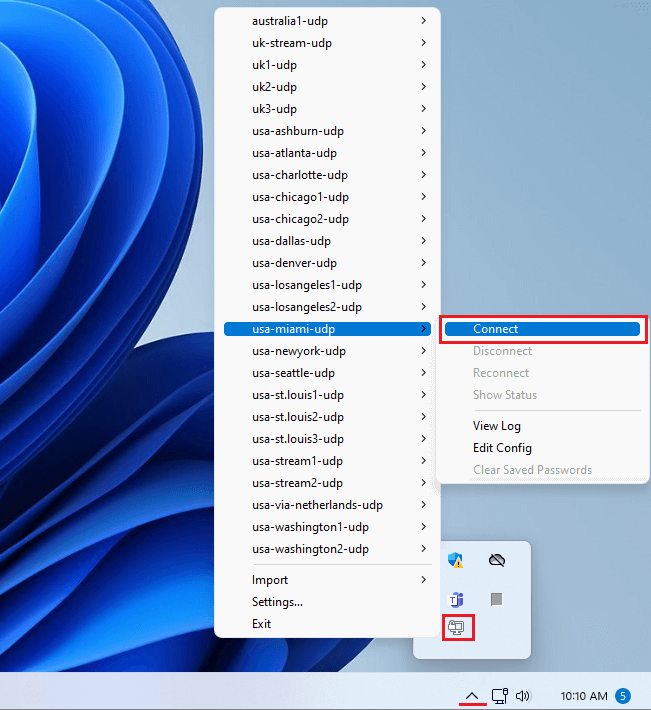
Step #9: In the system tray or on the taskbar, find the OpenVPN GUI icon. Right-click on it, then navigate to your desired FastestVPN server and click on “Connect“.
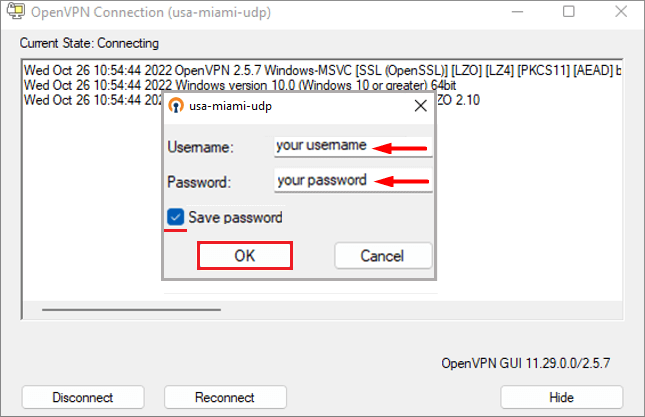
Step #10: Enter your FastestVPN Username and Password. Check mark “Save password” and click “OK“.
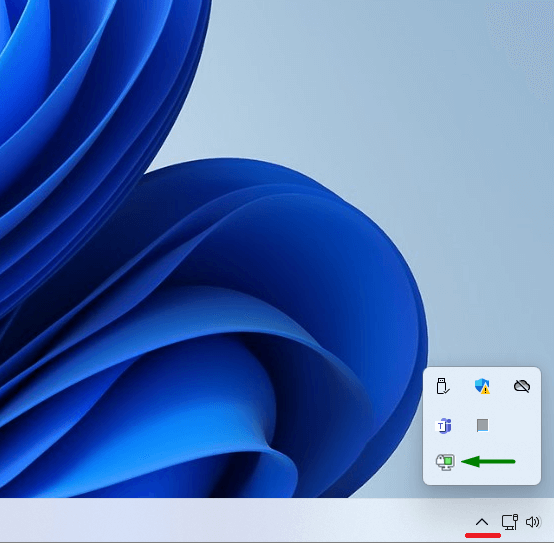
Step #11: Once the OpenVPN GUI icon in the system tray turns green, that means you are connected to the FastestVPN.
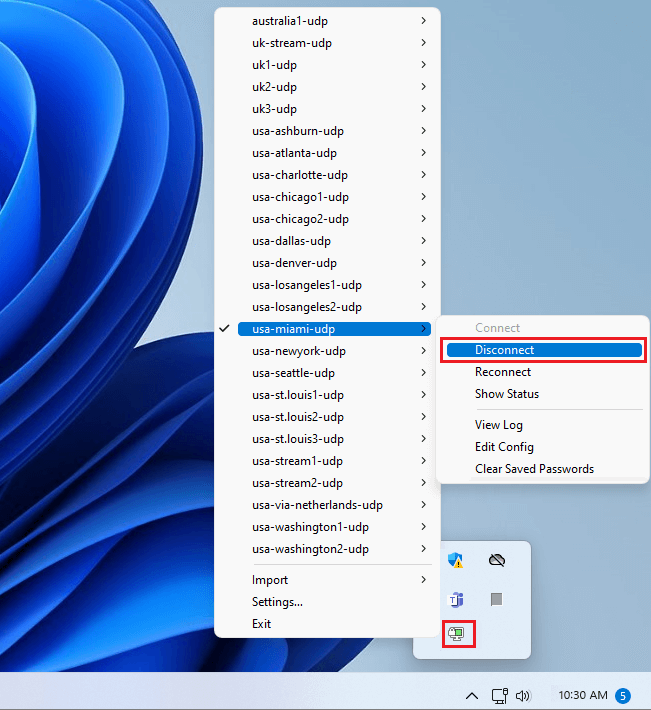
How to Disconnect the VPN
When you need to disconnect from the VPN, right-click on the OpenVPN GUI icon in the system tray/ taskbar, click on “Disconnect” next to your connected server name.