How to Setup OpenVPN for Mac OS Using the Viscosity VPN Client
Setup OpenVPN for Mac OS Using the Viscosity VPN Client
Note: FastestVPN is only compatible with MacOS version El Capitan 10.11 and above. Meanwhile, this process features manual VPN configuration.
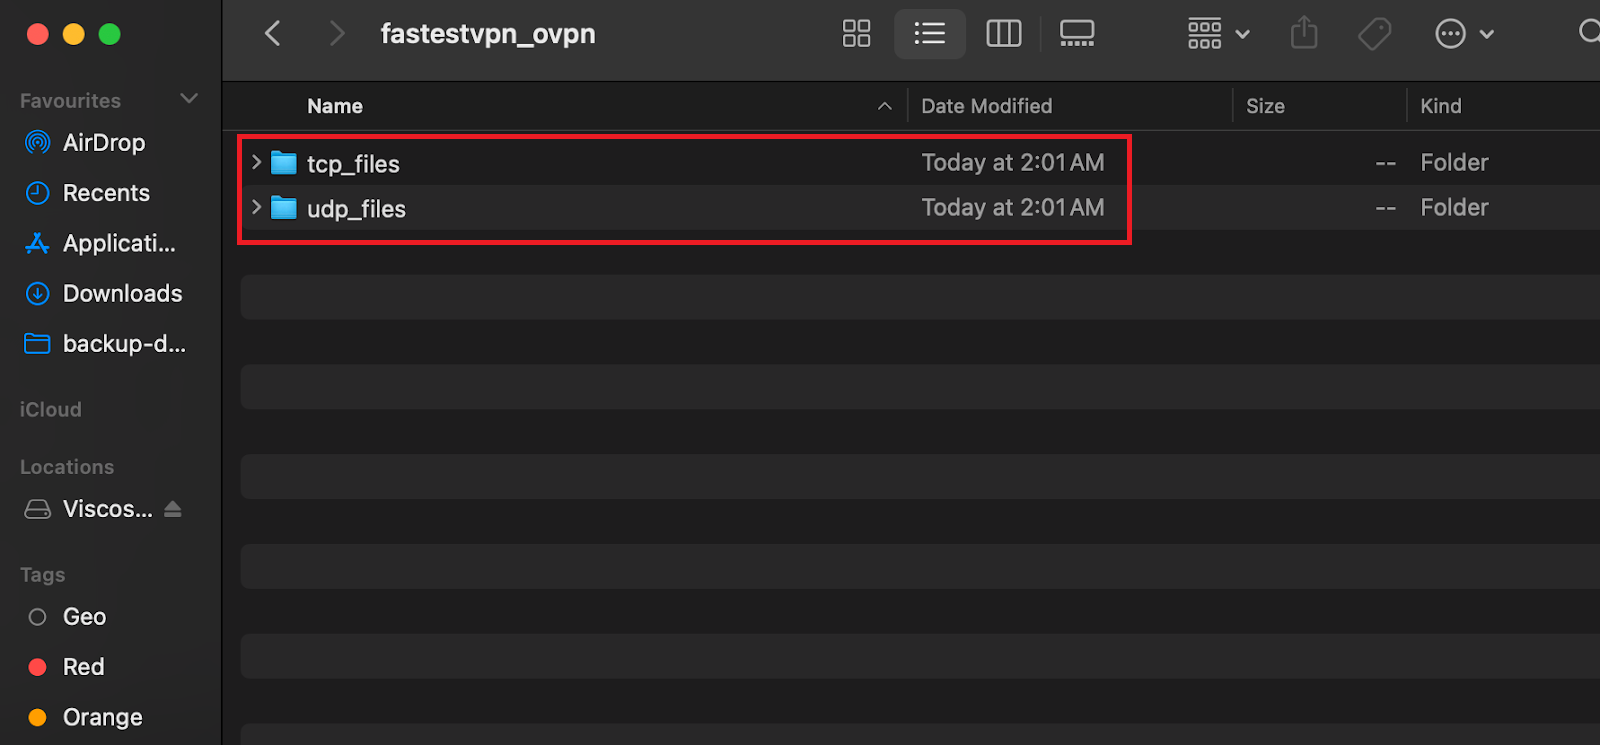
- Click here to install FastestVPN OpenVPN’s TCP and UDP configuration files on your device.
- Click on this link to install the Viscosity VPN client for MacOS.
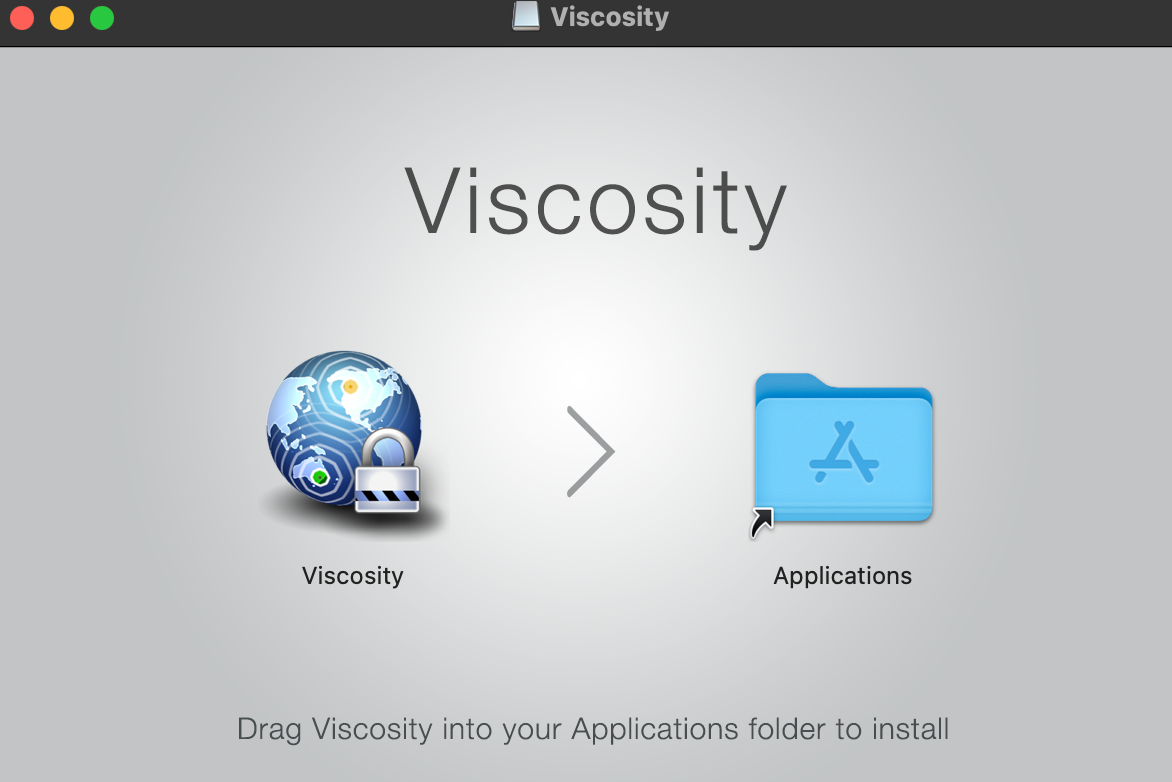
- Once installed, go to Downloads and launch Viscosity.
- Once launched, drag and drop it to the Applications folder.
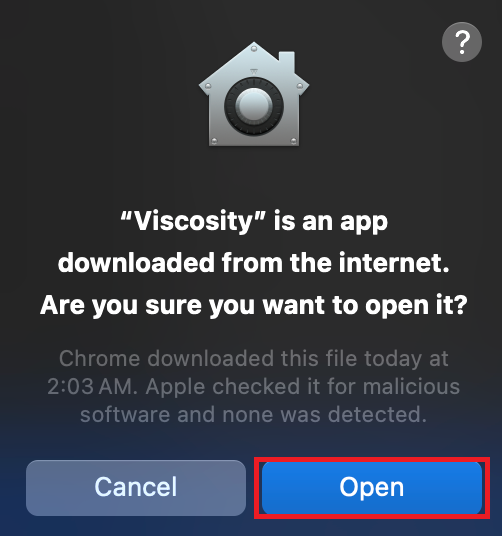
- Select Open.
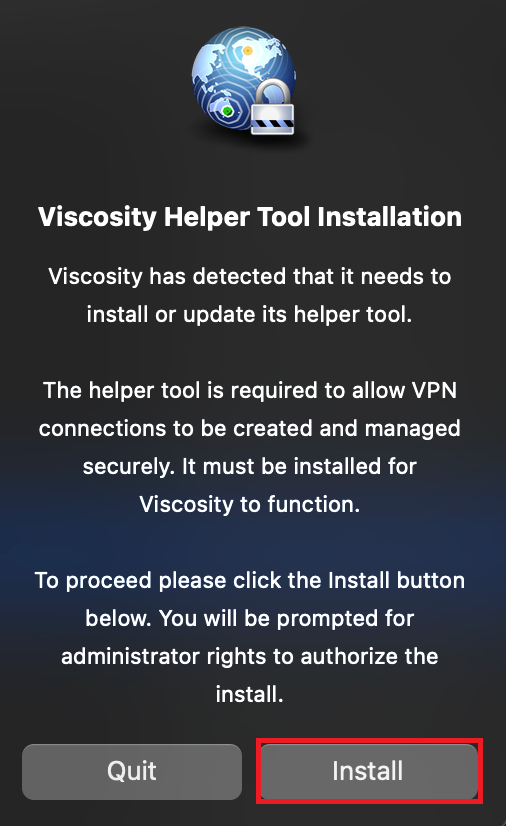
- Click Install.
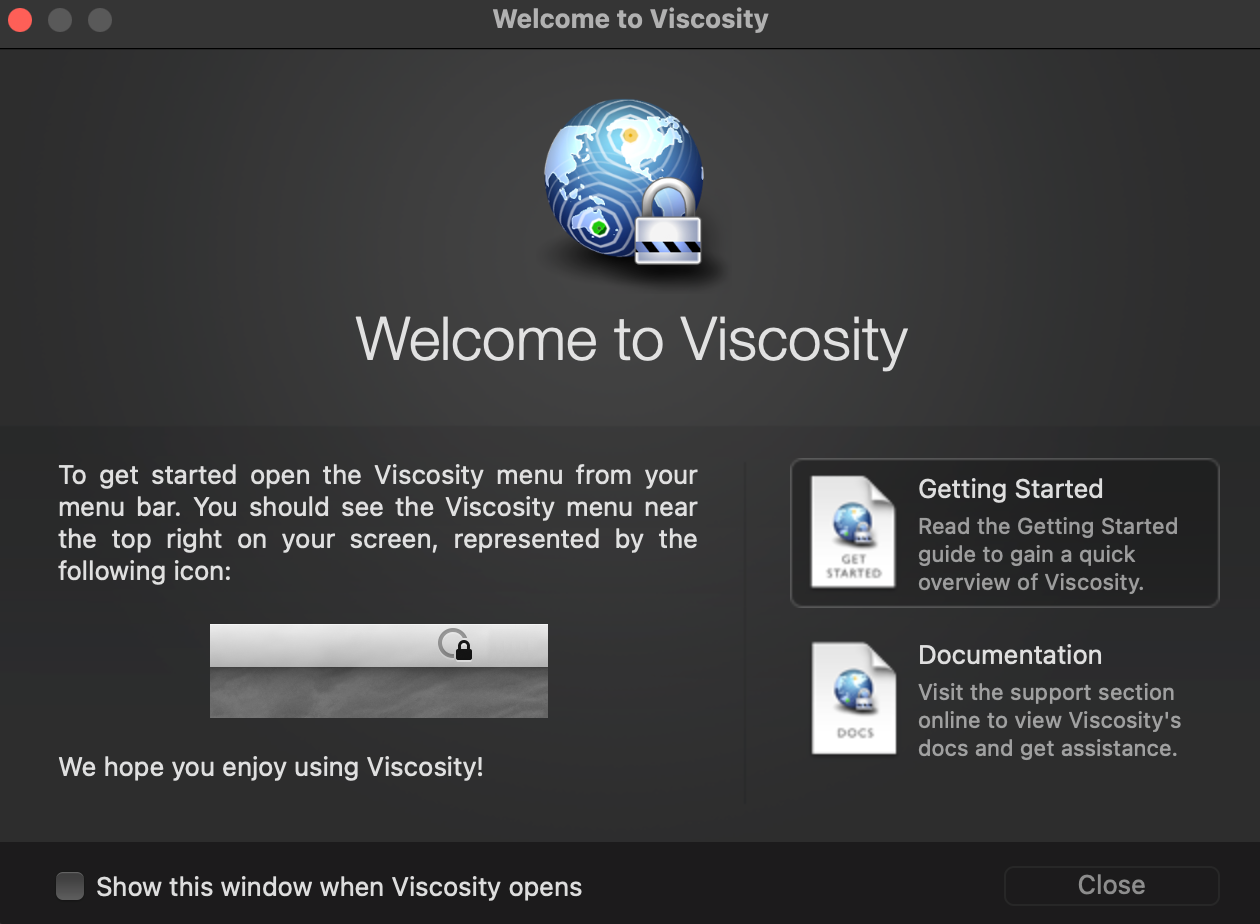
- Click Close.
- On the top-right corner of the screen, navigate and click on Viscosity’s icon from the menu bar. A drop-down menu will appear; click on Preferences.
- Once Preferences open, click + and select Import Connection>From File.
- Open Device Downloads>Fastestvpn_ovpn>UDP_Files. Click Open

- Click OK.
- You’ll see a list of server names. Right-click on the preferred option and choose Connect.
- Enter your FastestVPN credentials, i.e., the username and password. Click OK.
- The server should show as connected from the Preferences section within a few seconds.
To disconnect the VPN, click on the Viscosity icon from the menu bar and click on the connected server name. The VPN will disconnect.
