Set up iKev2 Manual set up on Windows 7
This tutorial explains how to set up FastestVPN with IKEv2 protocol on Windows 7 using Windows built-in VPN client.
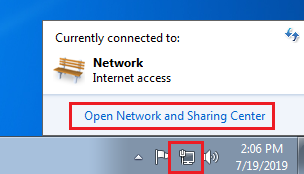
Step #1: Click on your LAN/ WiFi icon on the taskbar and open Network and Sharing Center.
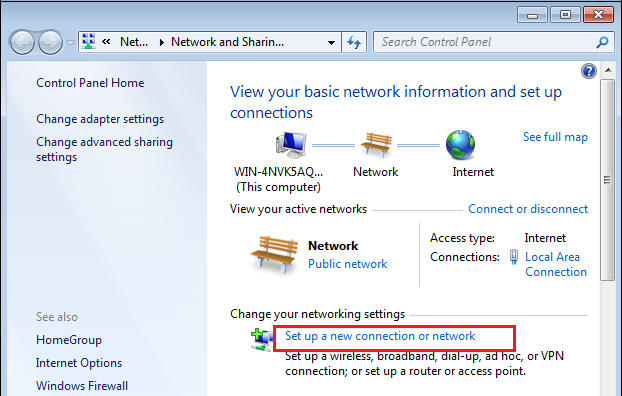
Step #2: Click on Set up a new connection or network.
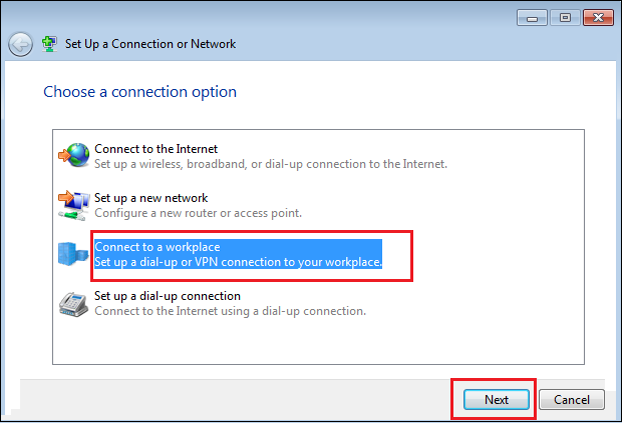
Step #3: Select Connect to a workplace and click Next.
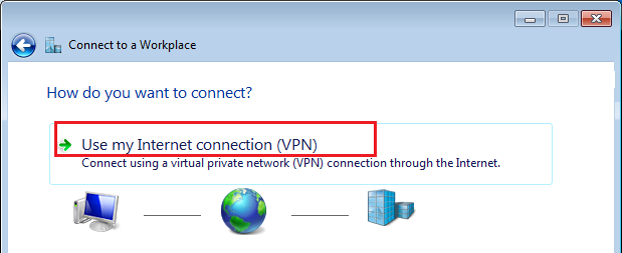
Step #4: Select Use my Internet connection (VPN).
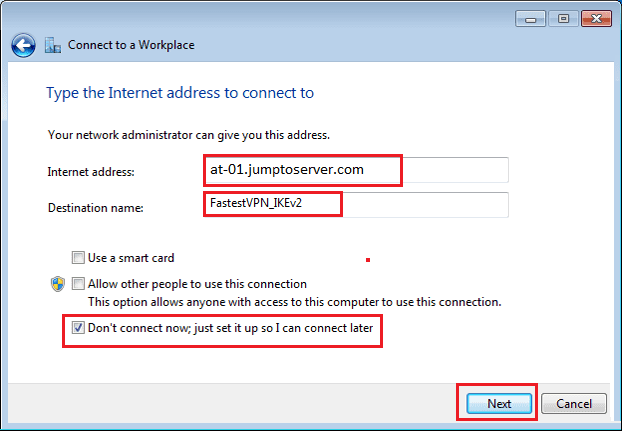
Step #5: In “Internet address” enter your desired FastestVPN server address. For example Singapore: sg-01.jumptoserver.com.
Click here to get FastestVPN server address list.
In “Destination name” enter “FastestVPN_IKEv2” (or whatever you like).
Check mark Don’t connect now.
Click on Next.
Step #6: Enter your FastestVPN username and password. Check mark Remember this password and click on Create.

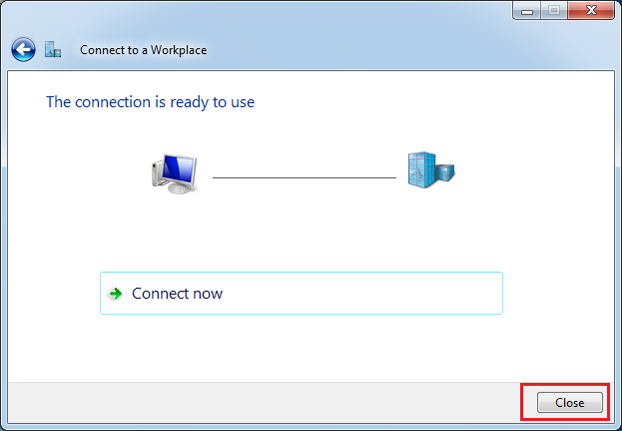
Step #7: Click on Close.
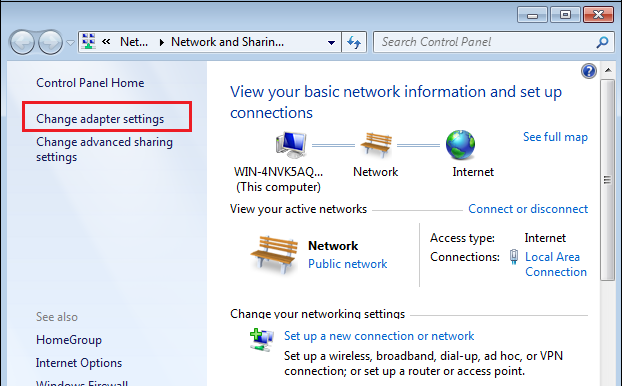
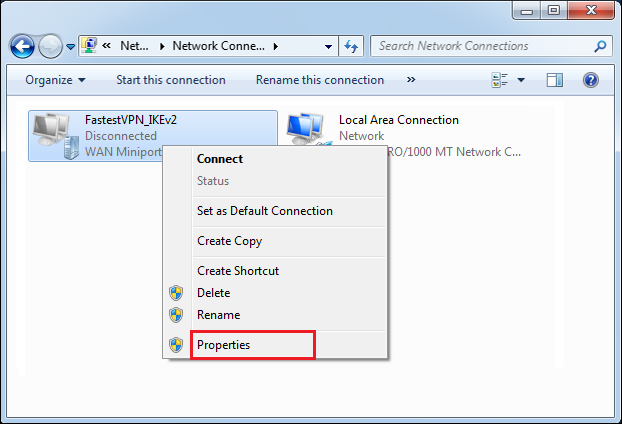
Step #8: Now click on Change Adapter Settings in the Network and Sharing Center.
Step #9: Right-click on the VPN profile you just created and select Properties.
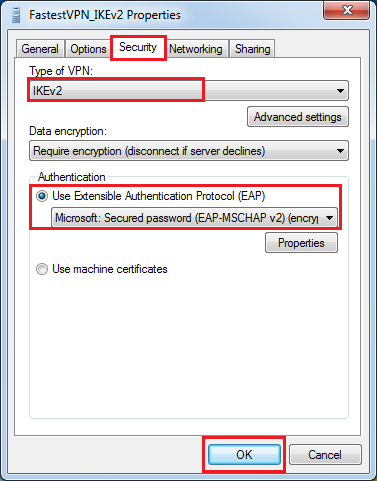
Step #10: Go to the Security tab. Select IKEv2 in “Type of VPN”.
In “Authentication” select “Use Extensible Authentication Protocol”
Click on OK to close the “Properties” Window
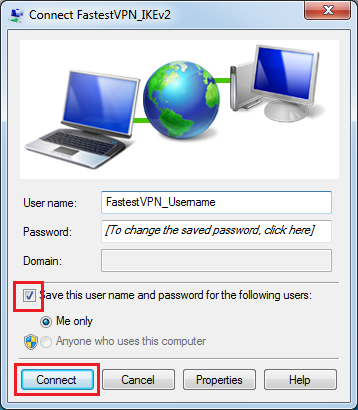
Step #11: Double-click on your IKEv2 VPN profile.

Step #12: Select Save this username and password.
Click on Connect.
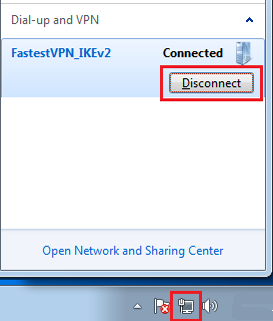
Step #13: It will be connected shortly. You can see its status in your available connections.
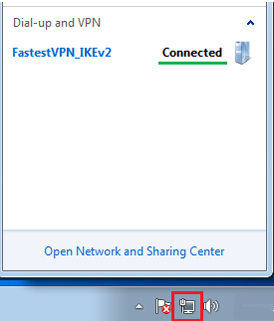
When you need to disconnect, click on your VPN connection name and click Disconnect.