OpenVPN Setup on Windows Using the OpenVPN Connect Application
This tutorial explains how you can set up FastestVPN with OpenVPN (TCP, UDP) protocol and the OpenVPN Connect application on Windows 7, 8, 10, and 11.
Step #1: Download FastestVPN OpenVPN (TCP and UDP) config files from here. Extract these files and you’ll find two folders inside, containing the TCP and UDP server files.
Step #2: Download OpenVPN Connect App for Windows from here and double-click on the downloaded file to begin the installation.
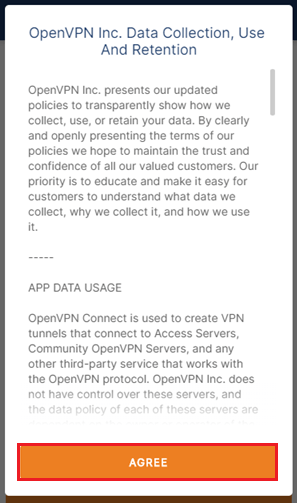
Step #3: Once Installed, open the App and click on “AGREE“.
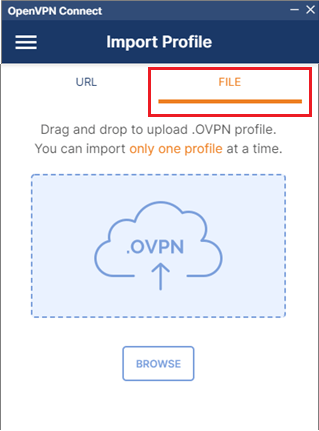
Step #4: Select “File“.
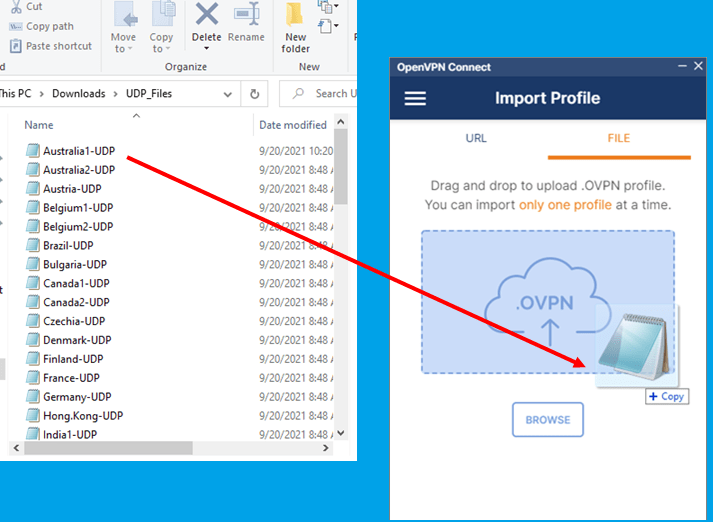
Step #5: Now go to the TCP or UDP files that you extracted in Step 1. Drag and drop your desired VPN server file in the OpenVPN Connect App.
Note: If you want to add multiple files to OpenVPN Connect, drag and drop them one by one.
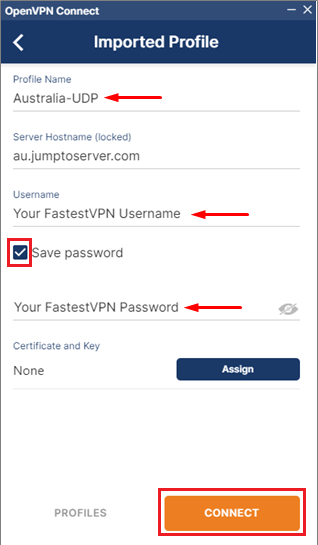
Step #6: Now add any name for your VPN profile. Then enter your “FastestVPN Username”. Check mark “Save password” and enter your “FastestVPN Password”. Click “Connect”.
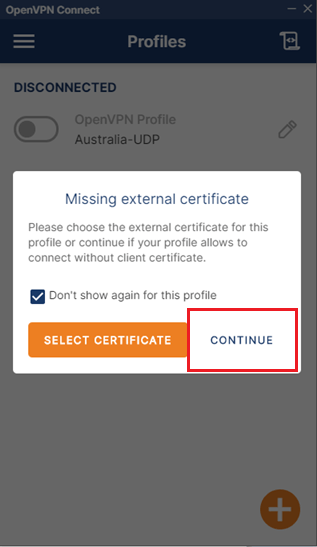
Step #7: Click on “Continue”.
Step #8: Wait for a few seconds for the OpenVPN connection on Windows to get established.
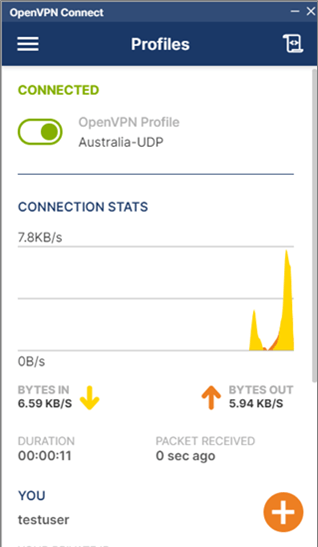
Use the same VPN switch later to connect and disconnect your VPN.
