Fix and Prevent DNS Leaks on Windows
Fix the DNS Leaks on Windows While Manually Setting up the VPN
Once connected to the FastestVPN Windows application, you are connected to the FastestVPN’s secure DNS instead of your actual internet service provider’s DNS servers. As a result, all the traffic between your system and FastestVPN DNS servers is encrypted. It provides you with complete DNS leak protection.
It is recommended to set up the FastestVPN using our dedicated Windows App to avoid any DNS leaks. Moreover, IKEv2, TCP, and UDP are recommended protocols in terms of security.
If you want to use the Fastest VPN manually on your Windows, such as the PPTP, IKEv2 or L2TP through your Windows built-in VPN settings, or in case you are using a 3rd party client to connect to the FastestVPN servers, such as the OpenVPN GUI, you may notice the DNS leaks. To verify whether your DNS is leaking or not over the VPN connection, visit ipleak.net or dnsleaktest.com. If the DNS leak test reveals any of your actual info such as your actual IP address, location, or internet service provider’s name, that means your system is leaking the DNS.
Follow these steps to fix and prevent DNS leaks on Windows.
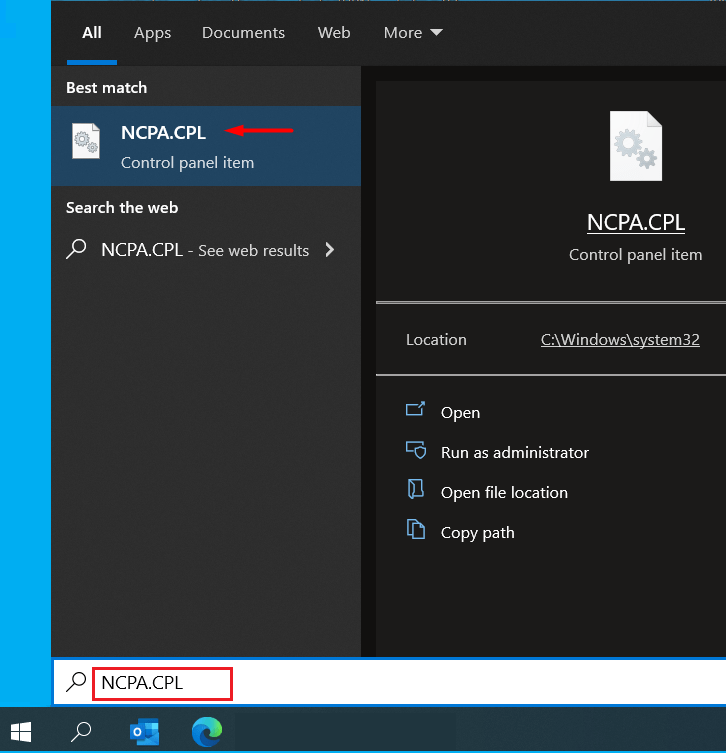
Step #1: Type in NCPA.CPL on Windows search and press “Enter”. It will open your Windows Network Connections.
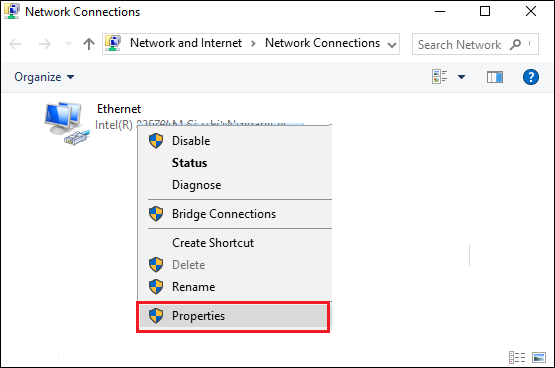
Step #2: Right-click on your active internet connection adapter, (Ethernet/Wireless/ Wifi/ Local Area Connection) and open its properties.
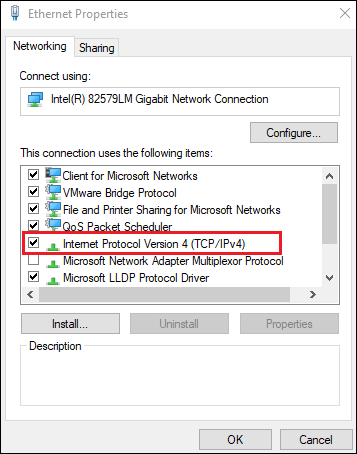
Step #3: Double click on Internet Protocol Version 4 (TCP/ IPv4).
Step #4: Enable “Use the following DNS server addresses”. After that enter FastestVPN’s DNS server addresses in the fields below which are 10.8.8.8 and 10.9.9.9 respectively.
Click on OK.

Finally, connect to the FastestVPN and your connection will be protected against the DNS leaks.
Alternatively, you can use the public DNS addresses, such as 8.8.8.8 and 8.8.4.4 or 1.1.1.1 and 1.0.0.1
