Setup VPN on Ubuntu With OpenConnect
The following tutorial explains how to set up the Ubuntu Linux VPN with the OpenConnect / SSL protocol. This setup is compatible with Ubuntu Linux 15.04 and later versions
Step #1: Open the terminal and enter the following command to install the OpenConnect network manager:
sudo apt-get install openconnect network-manager-openconnect network-manager-openconnect-gnome

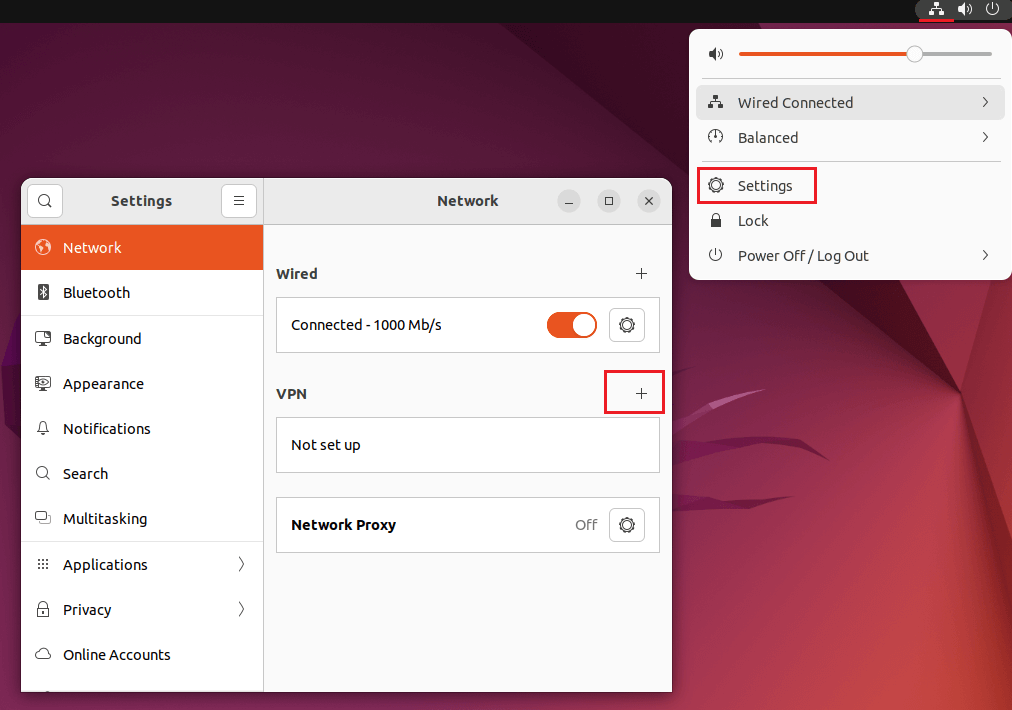
Step #2: Click on the Network icon and open the network settings. Then click the “+” sign next to VPN.
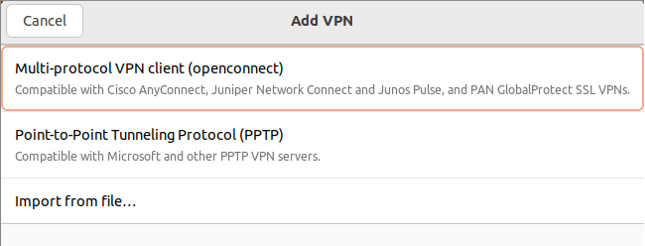
Step #3: Select Multi-protocol VPN client (openconnect).
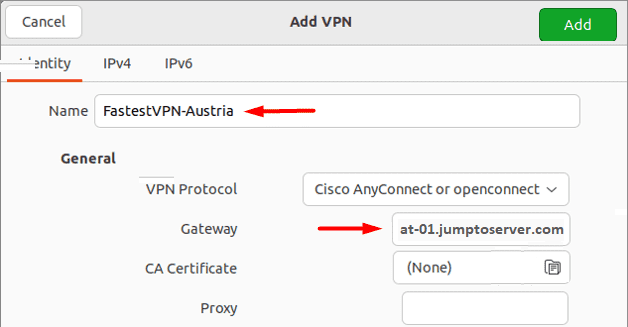
Step #4: Enter the following info:
- Name: Any name for your VPN connection
- Gateway: Your desired FastestVPN server address, such as for the Austria VPN server, enter “at-01.jumptoserver.com”. Click here to get the complete list of server addresses.
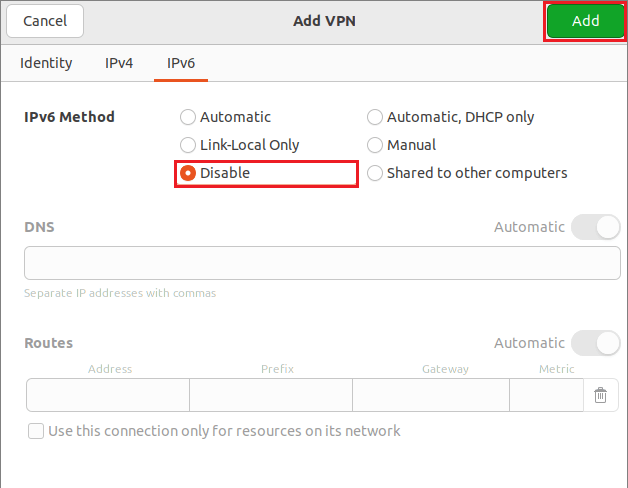
Step #5: Click on IPv6 and select Disable. Then click “Add” on the top right side.
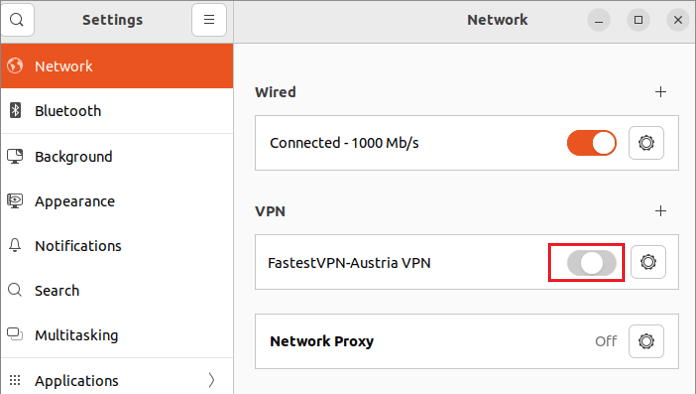
Step #6: Your VPN profile has been created. Turn on its switch to connect to the VPN.
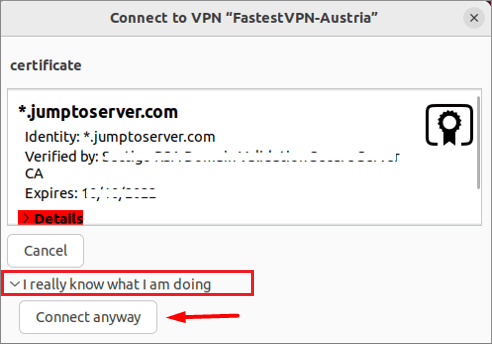
Step #7: Click on Connect anyway once the certificate detail appears.
Step #8: Enter your FastestVPN username and click on “Login”. Then enter your FastestVPN password, checkmark “Save Passwords” and click on “Login”.
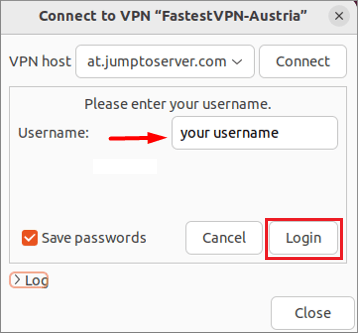
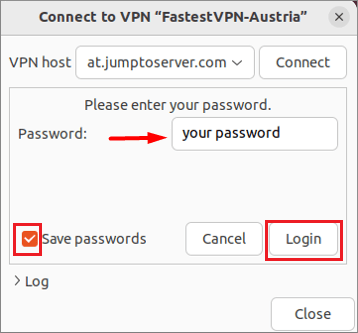
Your VPN will be connected shortly.
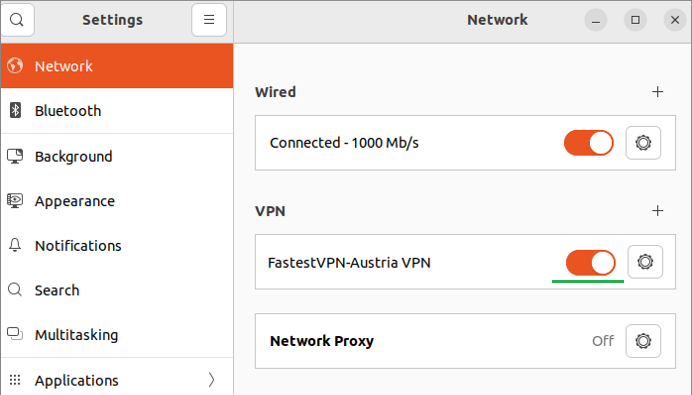
Once the VPN is connected successfully, a VPN or a lock icon will appear on the top menu bar.

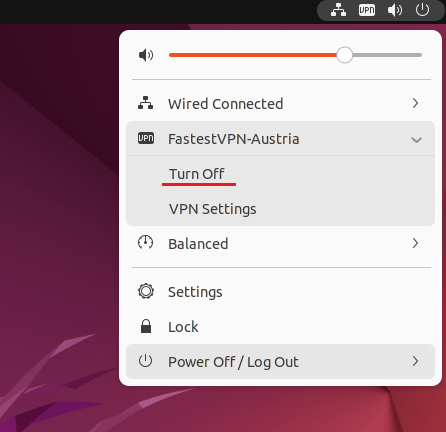
How to Disconnect
When you want to disconnect the VPN, click on the Network or VPN icon and click Turn Off under the connected VPN connection name.