Setup OpenVPN on Kali Linux via Command Line
This tutorial explains how to set up OpenVPN on Kali Linux through Command Line Interface, CLI.
If you want to set up the VPN through the Network Manager on Kali, find the setup guides here.
Initial Step: It is recommended to update the outdated packages on your system by running the sudo apt update && sudo apt upgrade command.
Step #1: Switch to the root user by entering sudo -i and install OpenVPN.
apt install openvpn -y

Step #2: Enter into the OpenVPN directory and download FastestVPN’s OpenVPN server config files by running these commands.
cd /etc/openvpn
sudo wget http://support.fastestvpn.com/download/fastestvpn_ovpn/ -O fastestvpn_ovpn.zip

Step #3: Unzip the downloaded files.
unzip fastestvpn_ovpn.zip
Note: If it says that “unzip command not found” then install unzip by entering apt install unzip and follow Step # 3 again.

Step #4: Now copy the unzipped server files into the OpenVPN directory.
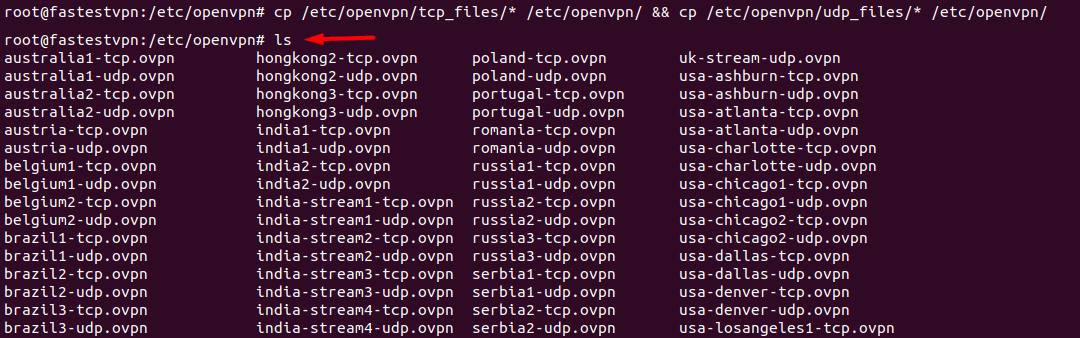
cp /etc/openvpn/tcp_files/* /etc/openvpn/ && cp /etc/openvpn/udp_files/* /etc/openvpn/

Step #5: Enter ls so all the FastestVPN server files in the directory will be listed.
Step #6: Connect to your desired TCP or UDP VPN server by entering sudo openvpn [your desired server name]
For example:
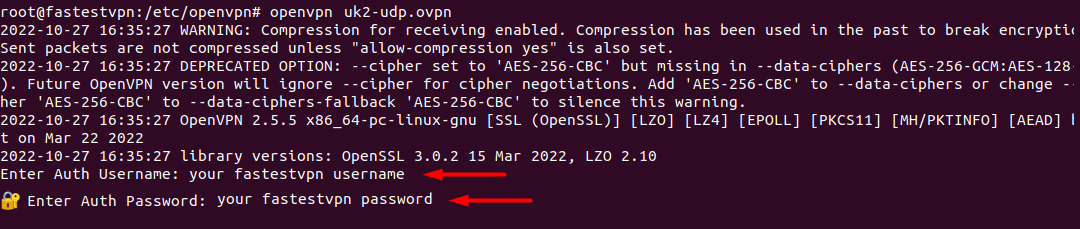
sudo openvpn uk2-udp.ovpn

Step #7: It will require you to enter your credentials. Enter your FastestVPN Username and then Password.
Step #8: Once the logs show “Initialization sequence completed” that means the VPN connection has been established.

To disconnect from the VPN, press Ctrl+C in the same command line session, or in another session, enter sudo killall openvpn
To connect to another server, enter into the OpenVPN directory and follow Steps # 5 to 7.
