Setup OpenVPN on Windows Using Viscosity
This Tutorial will show you how to setup FastestVPN OpenVPN (TCP, UDP) using the Viscosity VPN Client on Windows 7, 8, 10.
Step #1: Download Viscosity for Windows from here.
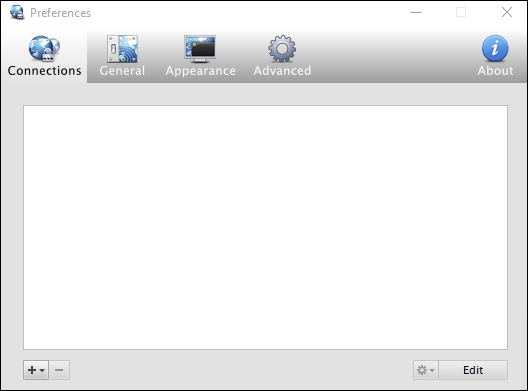
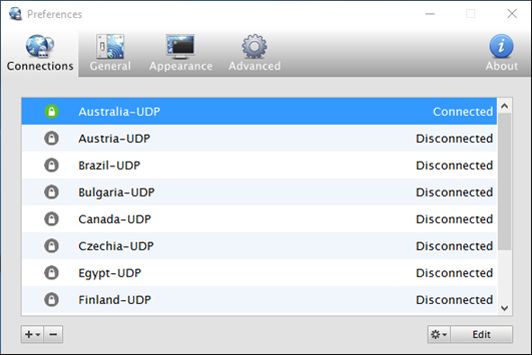
Step #2: Install Viscosity and open it. Then click on its icon in the system tray and select Preferences. The preferences Window will appear.

Step #3: Download FastestVPN OpenVPN (TCP and UDP) Config Files from here.
Step #4: Extract the downloaded FastestVPN_ovpn folder and open TCP_Files or UDP_Files whichever OpenVPN protocol you want to connect to.

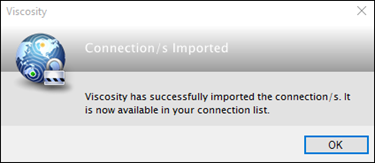
Step #5: Drag and drop your desired server files or all files to Viscosity

Step #6: Click on OK
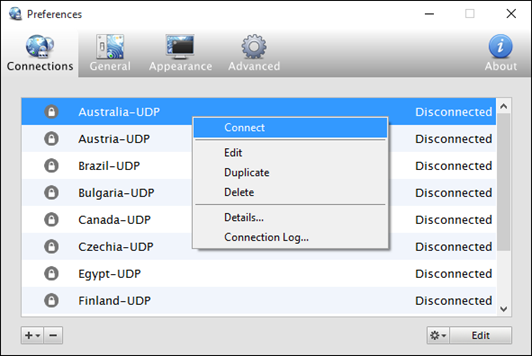
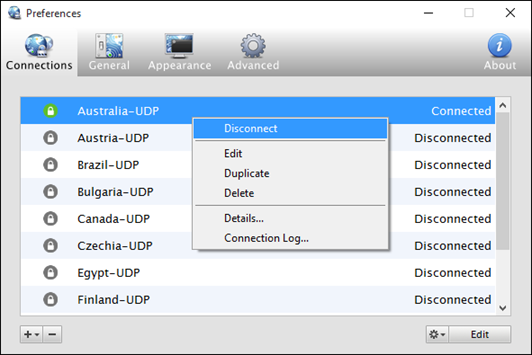
Step #7: Right click on your desired server location name and click Connect
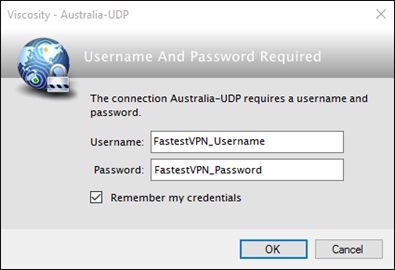
Step #8: Enter your FastestVPN Username and FastestVPN Password, check mark Remember and click on OK.
After a few seconds, the VPN status should turn to Connected
When you want to Disconnect VPN, right click on the connected server and click “Disconnect”.
Enjoy Complete Online Freedom with FastestVPN Speed
