OpenVPN for Windows XP
This tutorial explains how you can manually set up the FastestVPN on Windows XP with OpenVPN (TCP, UDP) Protocol
Step #1: Download the OpenVPN GUI Client for 32-bit Windows XP from here, OR for 64-bit Windows XP from here.
Note: If you are not sure whether you have a 32-bit Windows XP or a 64-bit, here is the guide to find that out.
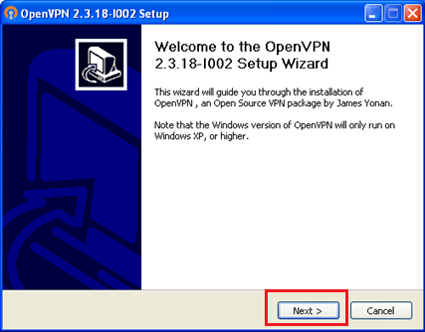
Step #2: Once downloaded, open it and run the exe file to begin the installation.
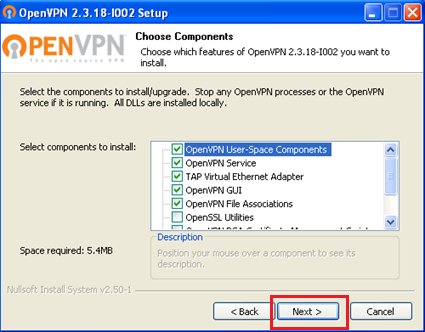
 Step #3: Click “Next”.
Step #4: Click on “I Agree”.
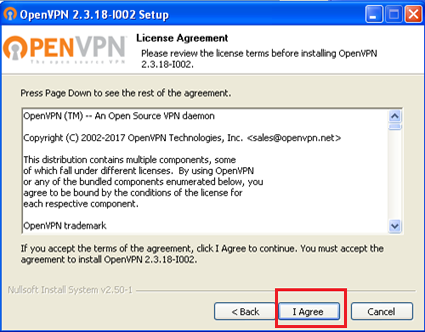
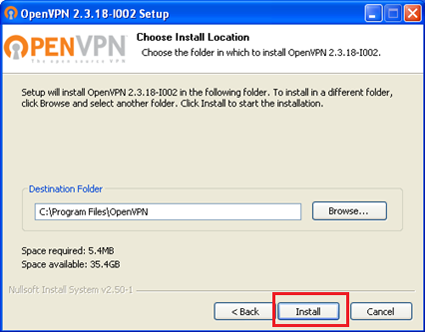
Step #6: Click on the “Install” button.
Step #8: Uncheck “Start OpenVPN GUI” and “Show Readme” and click “Finish”.
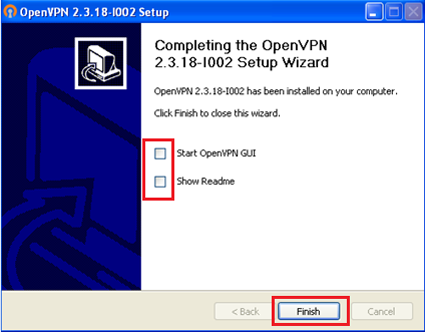
Step #9: Now download FastestVPN config files for OpenVPN TCP and UDP from here.
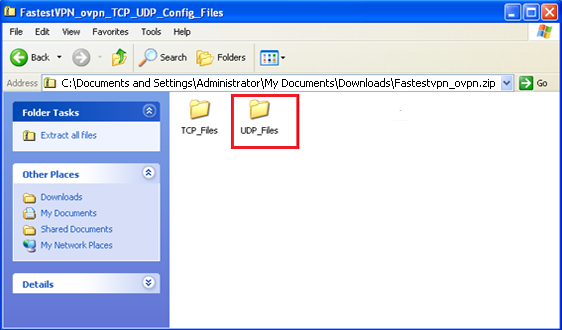
Step #10: Unzip the Fastestvpn_ovpn folder which you downloaded in the step above.
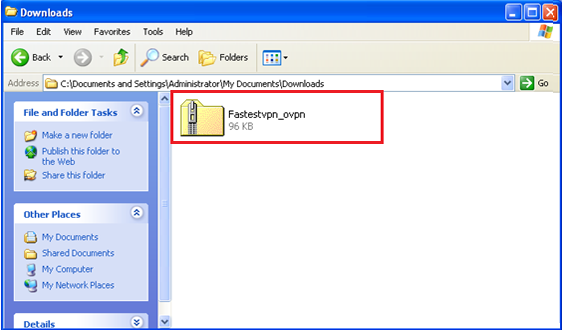
Step #11: Here you will find two folders TCP and UDP. Open any of them.
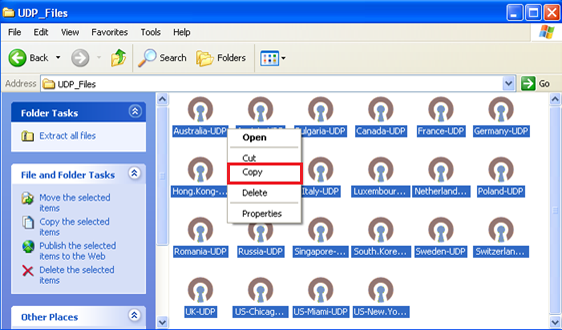
Step #12: Copy the files inside the folder.
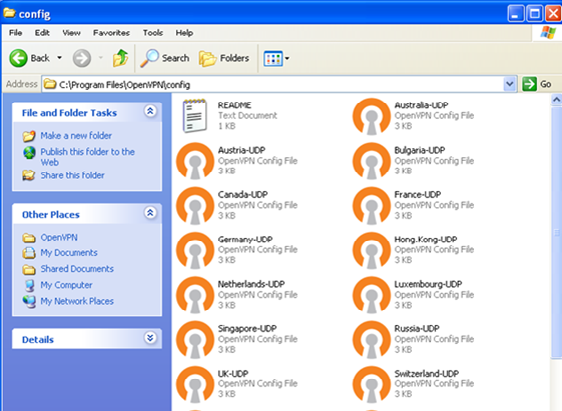
Step #13: Paste them to C:\Program Files\OpenVPN\config folder.
Note: If you don’t find the “OpenVPN” folder in “Program Files”, then find it in “Program Files (x86)” folder instead.
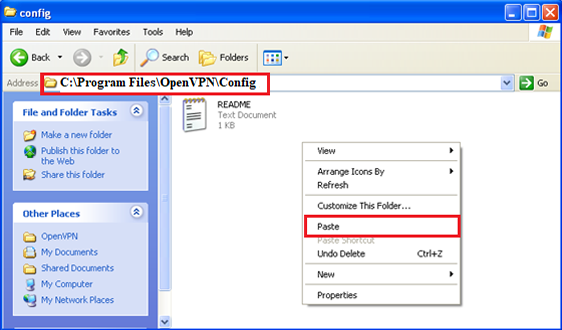
Step #14: Go to your desktop and then double click on OpenVPN GUI.
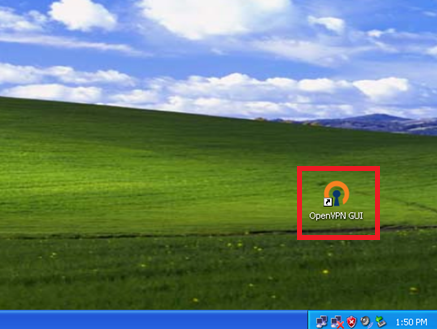
Step #15: OpenVPN icon will appear on the taskbar.

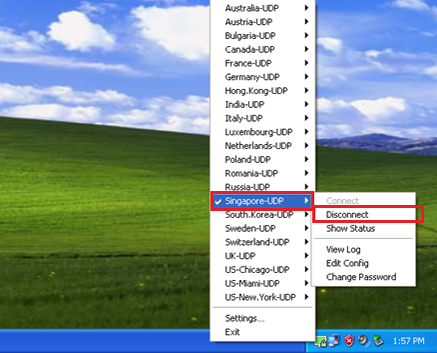
Step #16: Right-click on this taskbar icon, then select your desired FastestVPN server location and click on “Connect“.
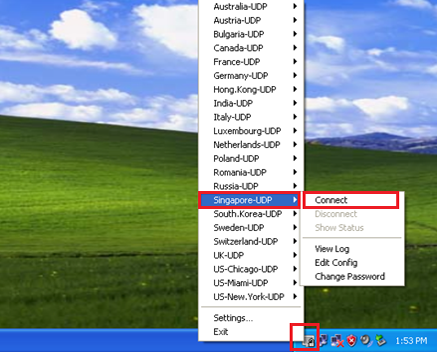
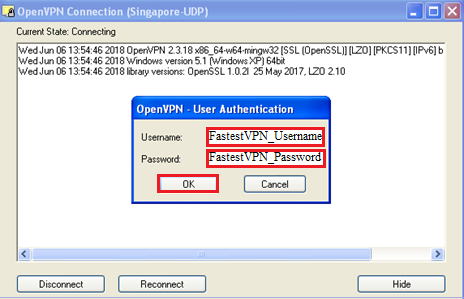
Step #17: Enter your FastestVPN Username and Password and click on “OK
Step #18: Once the OpenVPN icon turns green, that means your Fastest VPN on Windows XP has been connected successfully.
How to Disconnect:
When you want to disconnect, right-click on OpenVPN GUI icon on the taskbar, navigate to the connected server location and click on “Disconnect.”

