Set up L2TP Manual on Windows 10
This tutorial explains how to set up FastestVPN with L2TP protocol on Windows 10 using Windows built-in VPN settings
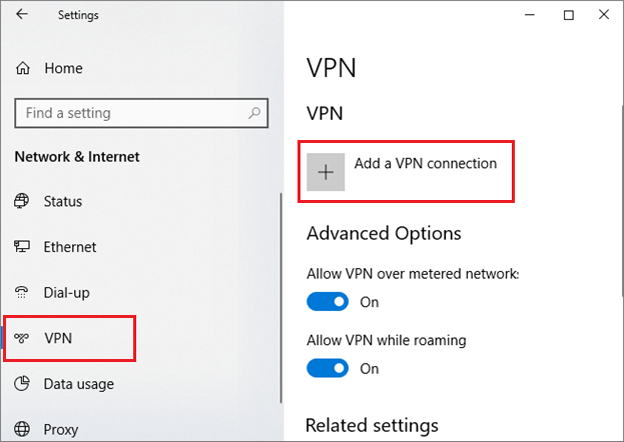
Step #1: Search “VPN Settings” from Windows search and open it.
Step #2: Click Add a VPN Connection.
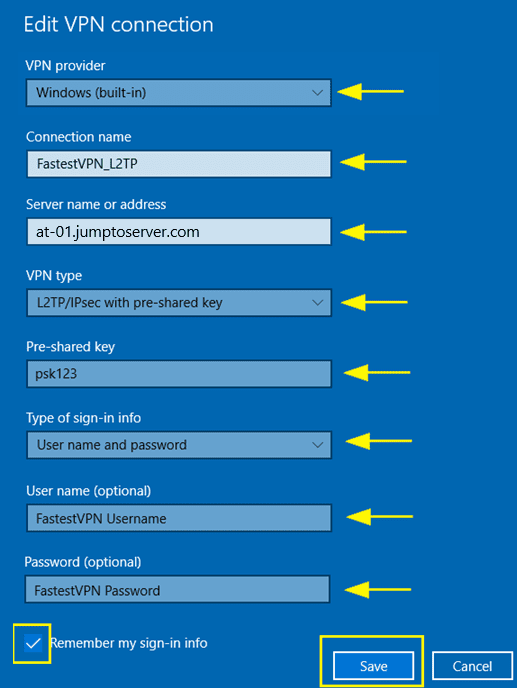
Step #3: Enter the following information:
- VPN provider: Windows (built-in)
- Connection name: FastestVPN_L2TP (or whatever you like)
- Server name or address: Your desired FastestVPN server address. As in this case Australia server address au.jumptoserver.com is entered. Click here to find FastestVPN server address list
- VPN type: L2TP/IPSec with pre-shared key
- Pre-shared key: psk123
- Type of sign-in info: User name and password
- User name: Your FastestVPN Username
- Password: Your FastestVPN Password
- Check mark Remember my sign-in info
- Click on Save
Step #4: Now your L2TP VPN profile has been created. Click on its name and click Connect.
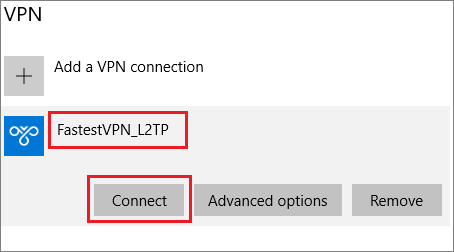
It will be connected shortly.
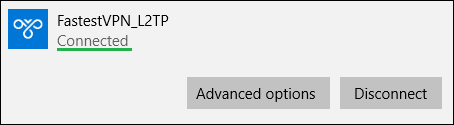
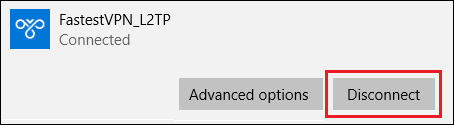
When you need to disconnect VPN, click on the “Disconnect” button under your VPN profile. Or else, click on the network icon on the taskbar and disconnect the VPN from there.