OpenVPN for Mac OS X Using the Tunnelblick Client
This tutorial explains how you can manually set up the FastestVPN with OpenVPN protocol using the Tunnelblick VPN Client
MacOS Compatibility:
- Mac OS 10.10 and later versions
Step #1: Download FastestVPN OpenVPN TCP and UDP server config files from here.
Step #2: Download Tunnelblick for Mac from here.
Step #3: Double click on the downloaded file to run the installation.
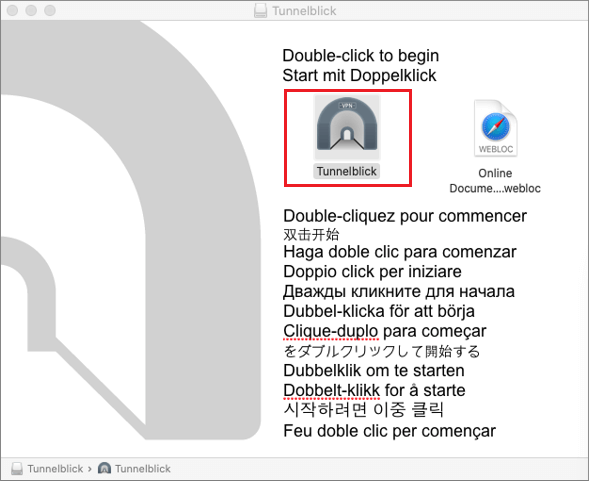
Step #4: The following screen will appear. Click on “Tunnelblick”.
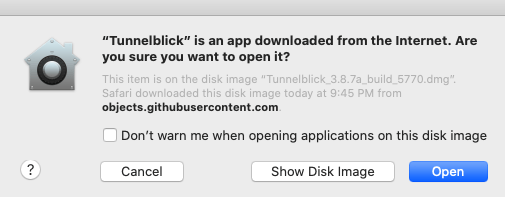
Step #5: Click “Open”
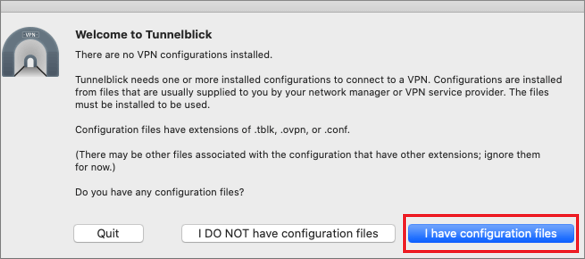
Step #6: Click on “I have configuration files”
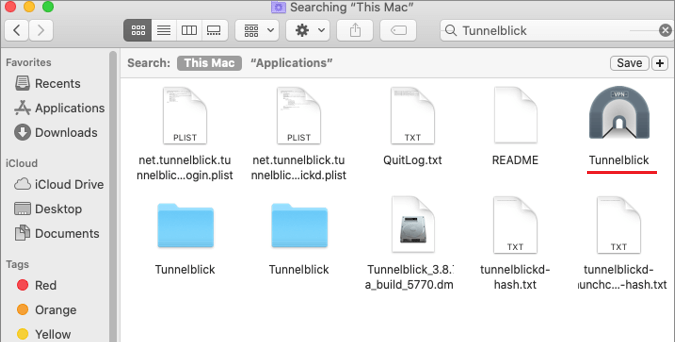
Step #7: Open your “Applications” folder, locate “Tunnelblick” and double-click to run it.
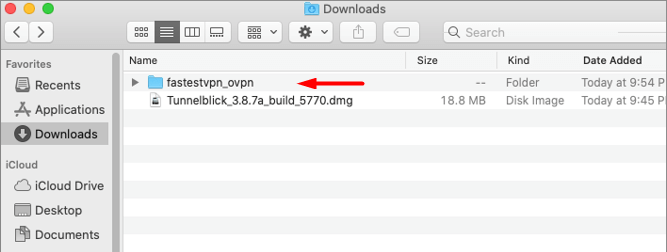
Step #8: Now go to your “Downloads” folder and locate and unzip the fastestvpn_ovpn which you’ve already downloaded in step 1.
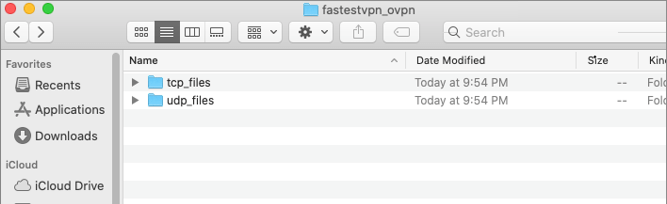
Step #9: You will find the TCP and UDP folders inside. Open any of the folders to whichever protocol you want to connect. (UDP is faster than TCP)
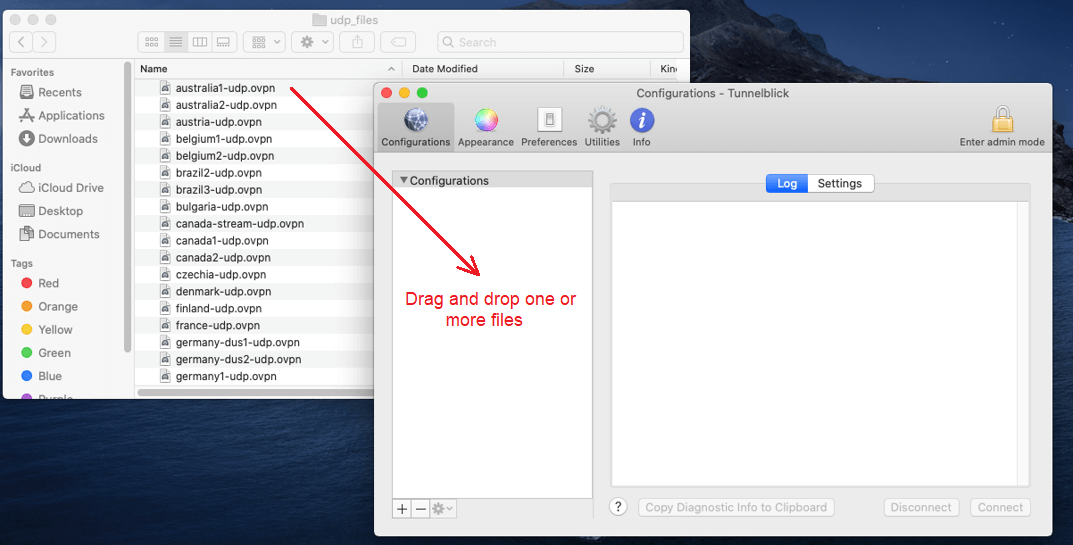
Step #10: From the folder that you opened, drag and drop one or more server files into the Tunnel blick “Configurations” section.
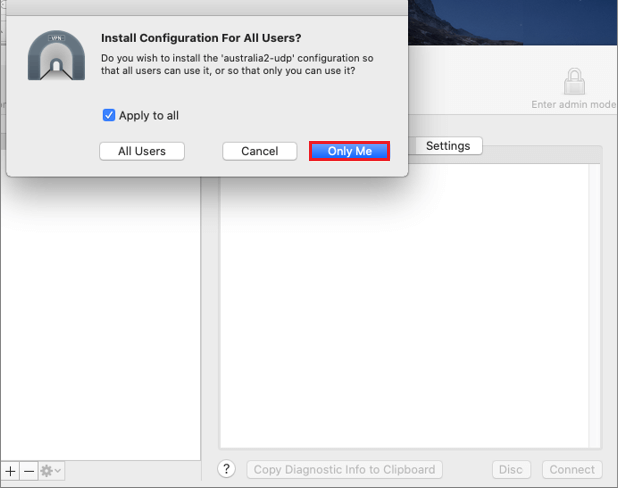
Step #11: Check mark “Apply to all” and click on “Only me”.
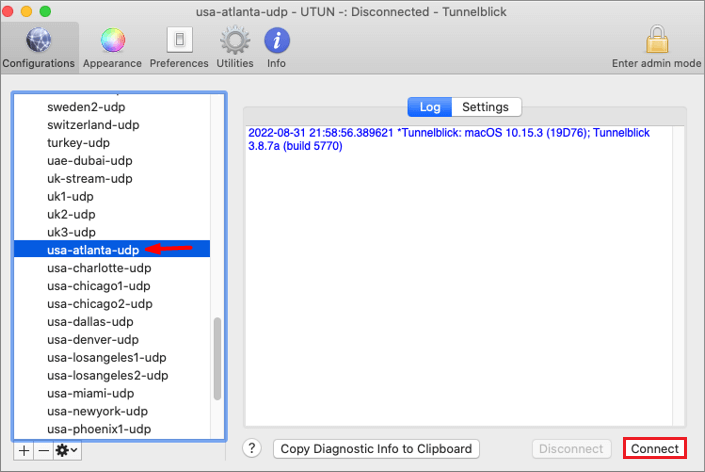
Step #12: Now on the Tunnelblick, click on your desired server location name and click “Connect”.
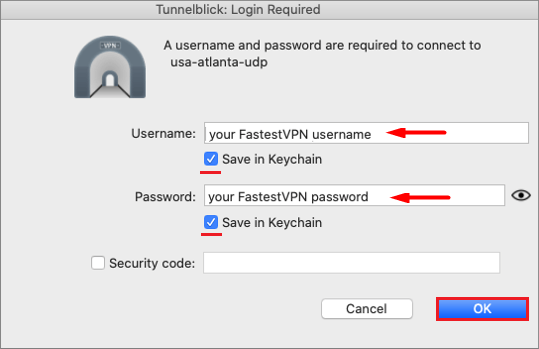
Step #13: Enter your FastestVPN username and password, and check mark “Save in Keychain” if you want the credentials to be saved for this specific server. Click on “OK”.
The connection is under process.
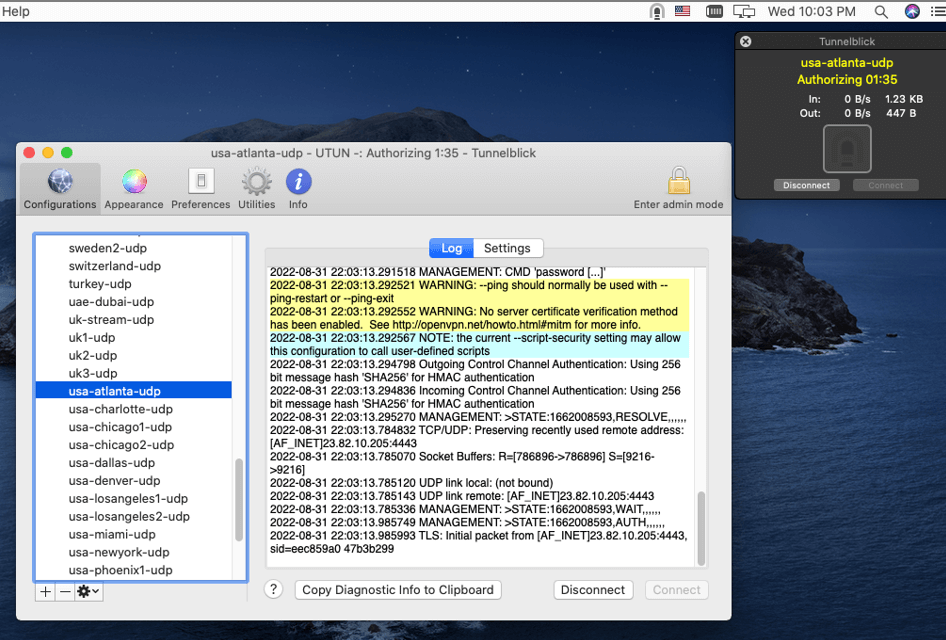
Step #14: Now it has been Connected.

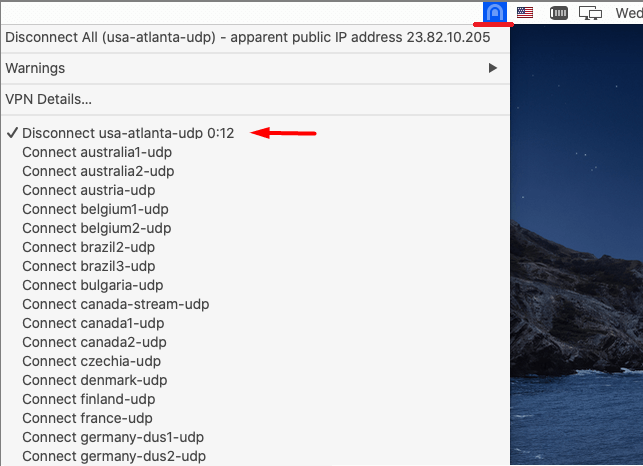
When you want to disconnect from the VPN, click on the Tunnelblick icon on the menu bar and click “Disconnect” on your connected VPN server name.
Later on, you can use the same Tunnelblick icon on the menu bar to connect and disconnect from FastestVPN.