Setup VPN on Mint Linux With OpenVPN
This tutorial explains how to set up the Mint Linux VPN with the OpenVPN protocol using the network manager.
This tutorial is for the Mint Desktop version. If you want to set up the VPN on Mint via command line, follow the guide here.
Initial Step: It is recommended to update the outdated packages on your system by running sudo apt update && sudo apt upgrade command on the terminal.
Step #1: Open the terminal and enter the following command to install the OpenVPN network manager:
sudo apt install network-manager-openvpn network-manager-openvpn-gnome
It will ask for the admin password. Enter it and wait for the installation to complete.
If it says that the package is already the newest version, then move to the next step.
Step #2: Download the FastestVPN OpenVPN server config files from here.
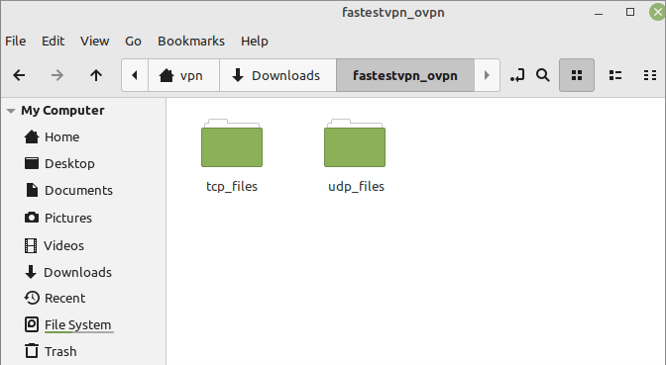
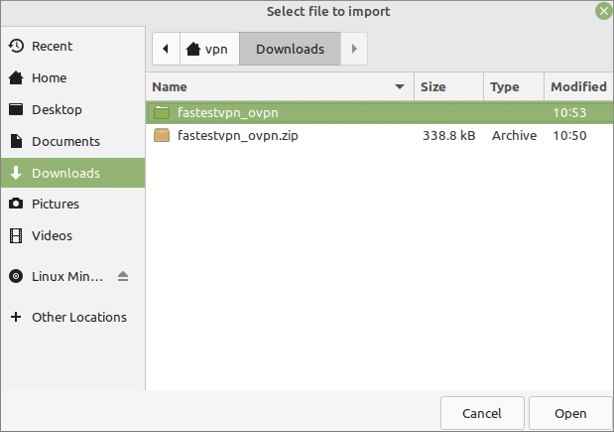
Step #3: Go to your ‘Downloads’ and extract the downloaded folder.
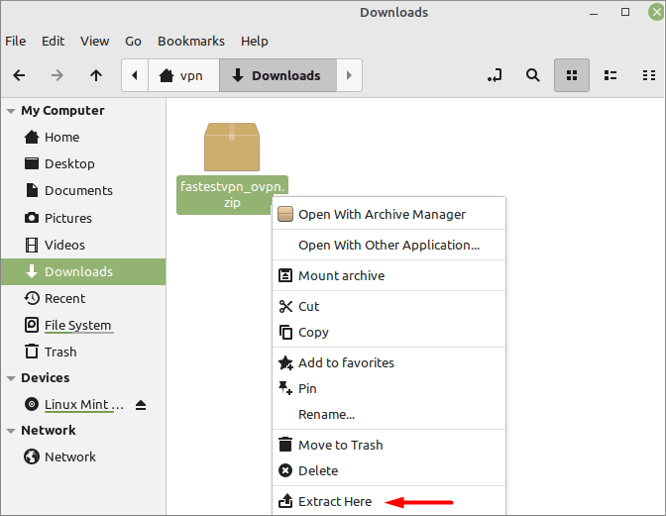
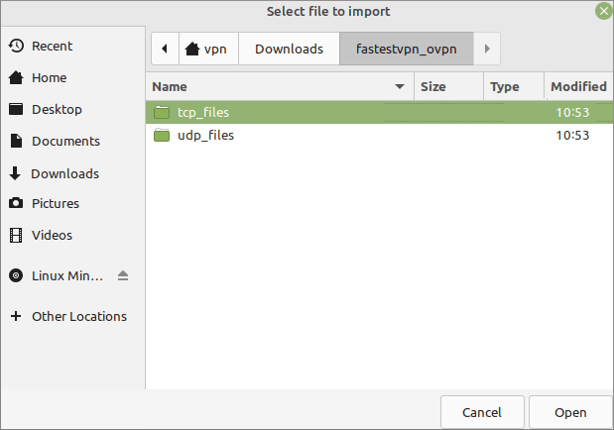
In the extracted folder, you will find two separate folders for TCP and UDP server files.
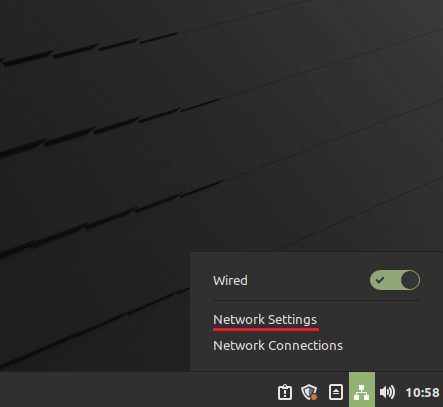
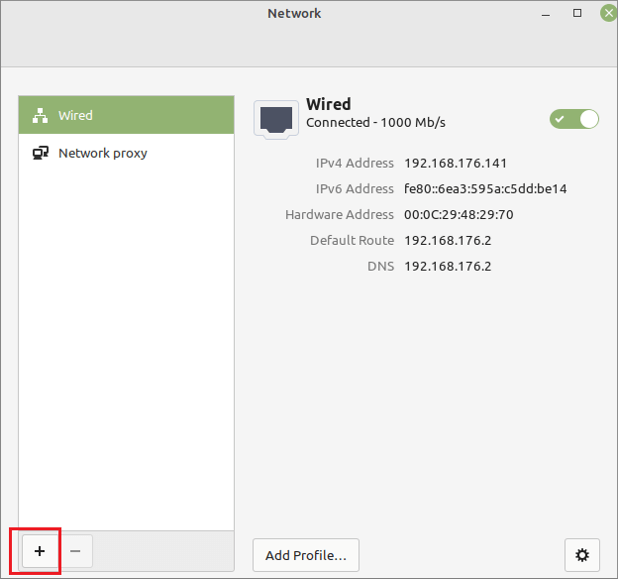
Step #4: Click on the Network icon and Click Network Settings
Step #5: Click on the “+” sign.
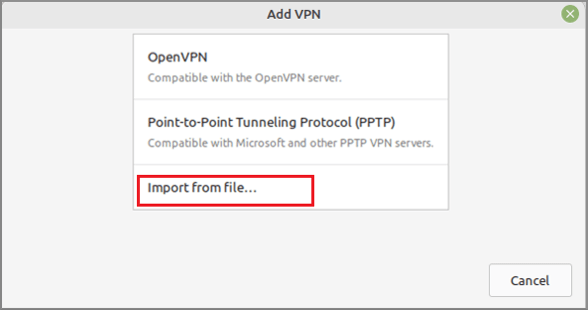
Step #6: Select Import from file.
Step #7: Now navigate to the Downloads folder where the configuration files were unzipped in Step 3. Open any folder, TCP or UDP.
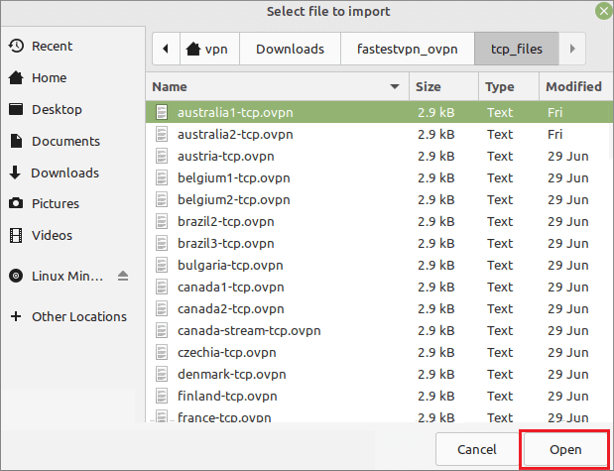
Step #8: Select your desired VPN server location and click on Open.
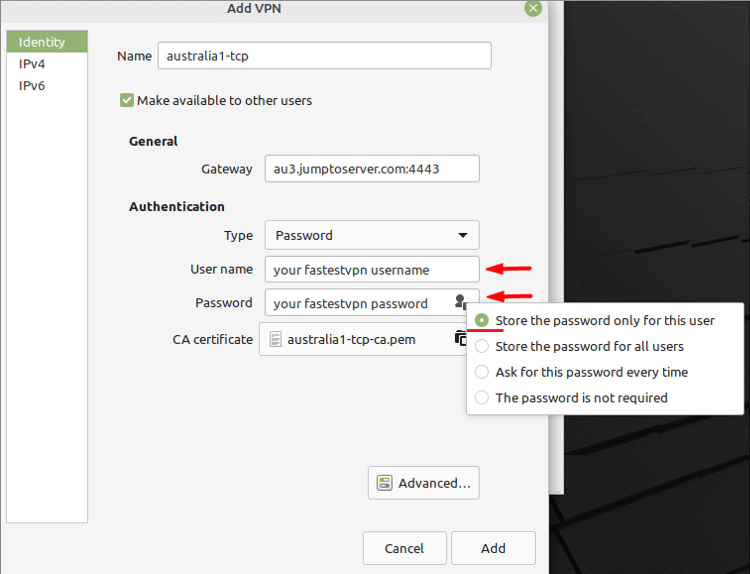
Step #9: Now enter your FastestVPN Username and Password. Select an option to store the password.
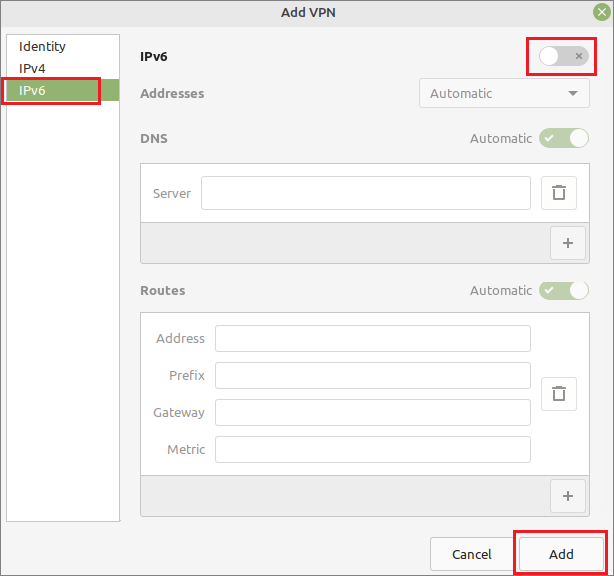
Step #10: Click on IPv6 and turn it “Off”. Then click on Add.
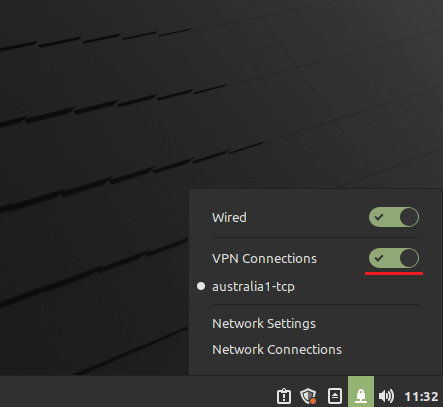
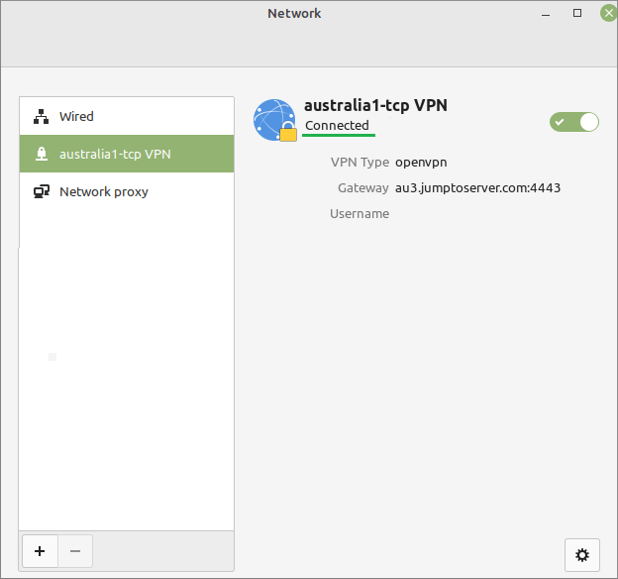
Step #11: Click on the VPN profile name that you just created and turn on the VPN switch.
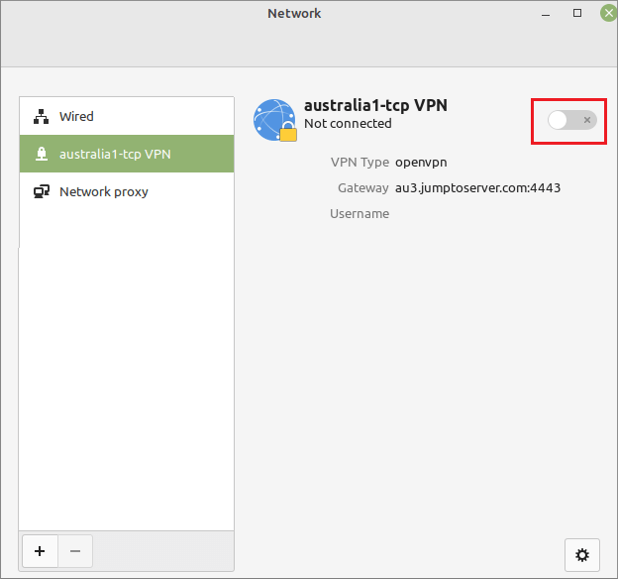
FastestVPN will be connected shortly.
To disconnect from the VPN, click on the Network icon and turn off the VPN switch.