FastestVPN App v1.2.8.8 Setup for Windows 7, 8, 10
FastestVPN’s Windows VPN App OS Compatibility
- Microsoft Windows 10
- Microsoft Windows 8
- Microsoft Windows 7
Step #1: Download the FastestVPN’s App Setup for Windows 7, 8, 10, and higher
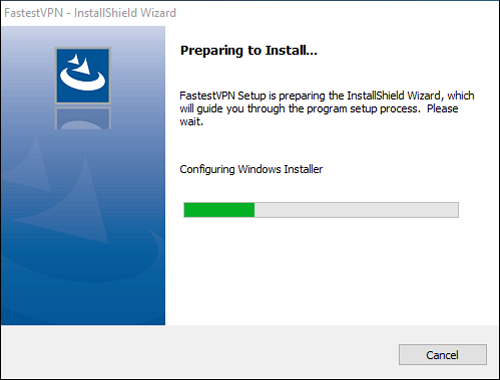
Step #2: Click on the downloaded file to run installation.
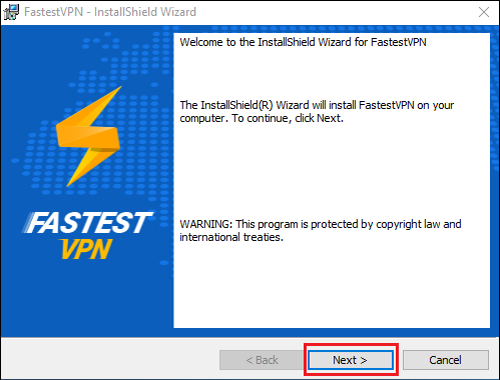
Step #3: Click “Next”
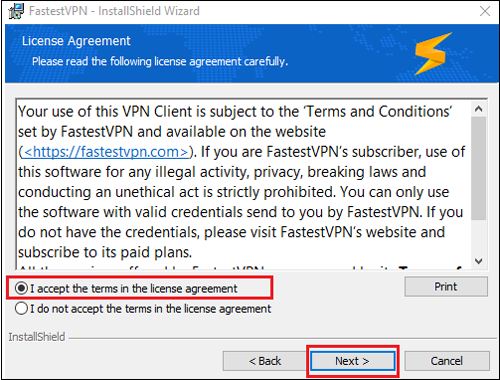
Step #4: Click on “I accept the terms in the license agreement” radio button and then click “Next”
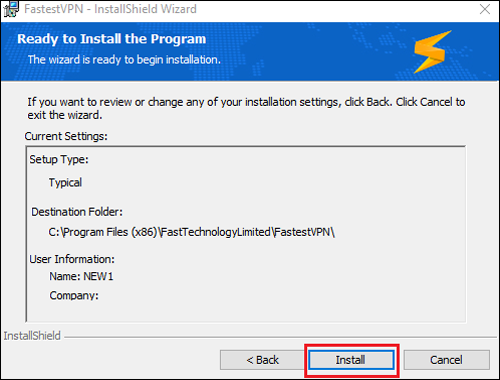
Step #5: Click “Install”
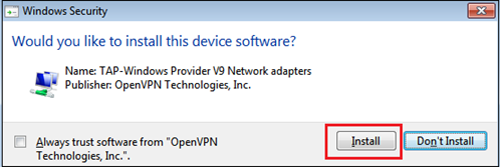
During installation, if it prompts to download TAP-Windows Provider, then click on “Install”. Otherwise proceed to the next step.
Step #6: Click “Finish”
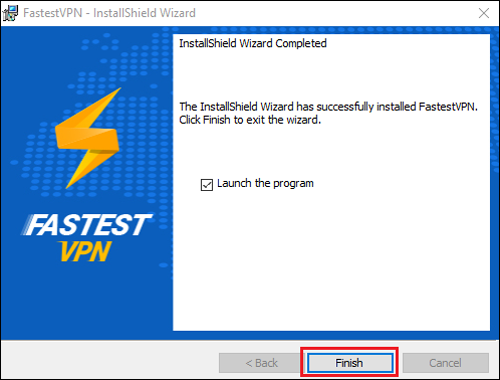
FastestVPN App window will appear after a few seconds. Wait for the login screen to show up.
Note: If FastestVPN App Window doesn’t launch automatically, please double click on the desktop icon to run it. If still you are unable to find it, then look into the task bar hidden items and launch it from the icon there.
![]()
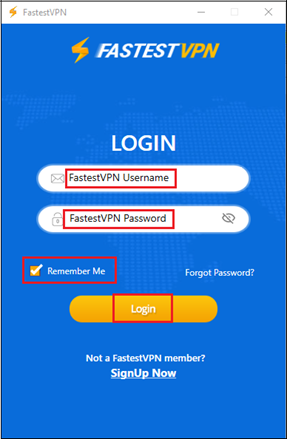
Step #7: Enter your Username and Password provided by FastestVPN, check “Remember Me” to save credentials and click on “Login” button.
Note: If you are new to FastestVPN, visit our Pricing Page to sign-up for an account
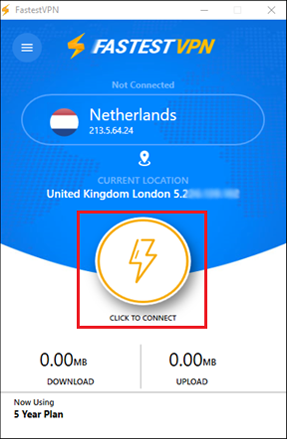
Step #8: After login, FastestVPN App will show your closest server location on its home screen. Click on the “Connect” button to connect to FastestVPN.
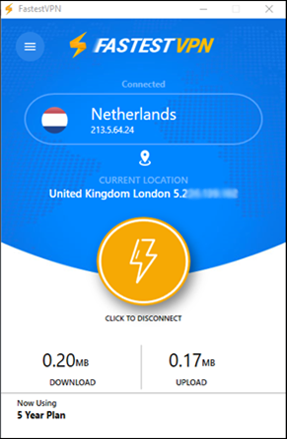
Once the VPN is connected, connect button will turn to gold color.
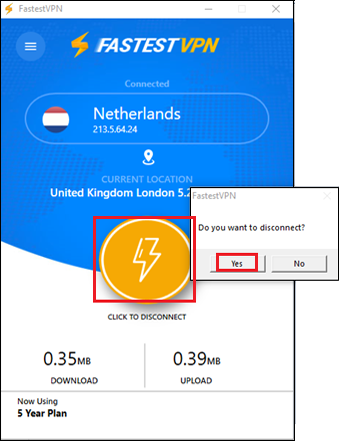
How to Disconnect
Click the Connect button and select ‘Yes’ for confirmation.
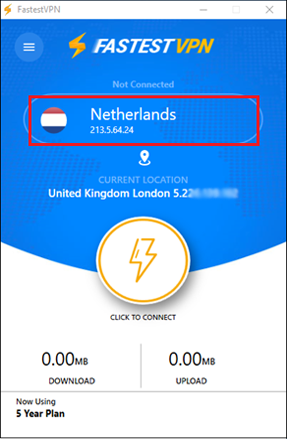
How to Connect to Another Server Location
Step #1: First disconnect to VPN and then click anywhere inside the area as shown in the screenshot below.
Step #2: Double click on your desired FastestVPN server location and it will be connected in a few seconds.
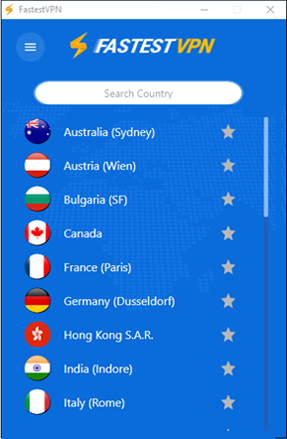
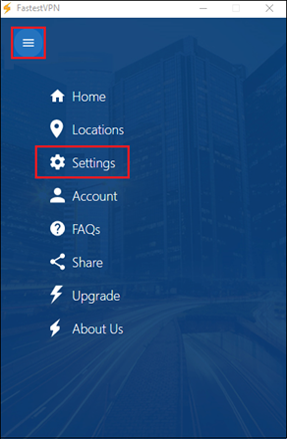
Alternatively, you can go to the locations screen from Menu button (at top-left side) and click on “Locations”
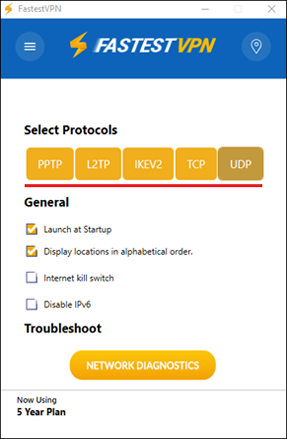
How to Connect to Another VPN Protocol
Step #1: Click on the ‘Menu’ button and select “Settings”
Step #2: Click on your desired protocol name